A PDF version of this guide, including project setup and debugging is available in the Documentation section
This guide is aimed at IAR Embedded Workbench users who are interested in integrating the IAR tools within Eclipse. For instructions relating to integrating GCC within Eclipse see this guide.
This is part 2 of a series of step-by-step guide on setting up and using the IAR Embedded Workbench within the Eclipse IDE. Using the tools installed in part 1 this article will guide the reader on how to create a C/C++ managed build project within Eclipse using the IAR Eclipse Plugin. Future articles will deal with creating a Makefile project and also how to create a debug configuration.
Managed Build Project vs Makefile Project
Broadly speaking there are two types of projects that can be created with IAR Eclipse. The first is a managed build project where the IDE is responsible for the various build steps. The second is a Makefile project where the user is responsible for providing a suitable Makefile to perform the building and linking of the project source code. The latter is discussed in a later article while this article goes over the steps necessary to create a managed build project. Note that these instructions are generic and the steps required may be slightly different depending on the target platforms.
Managed Build Project
After having opened Eclipse with a suitable workspace as discussed in the previous article, creating a new managed build project can be accomplished first by invoking the “File->New->C/C++ Project” menu item.
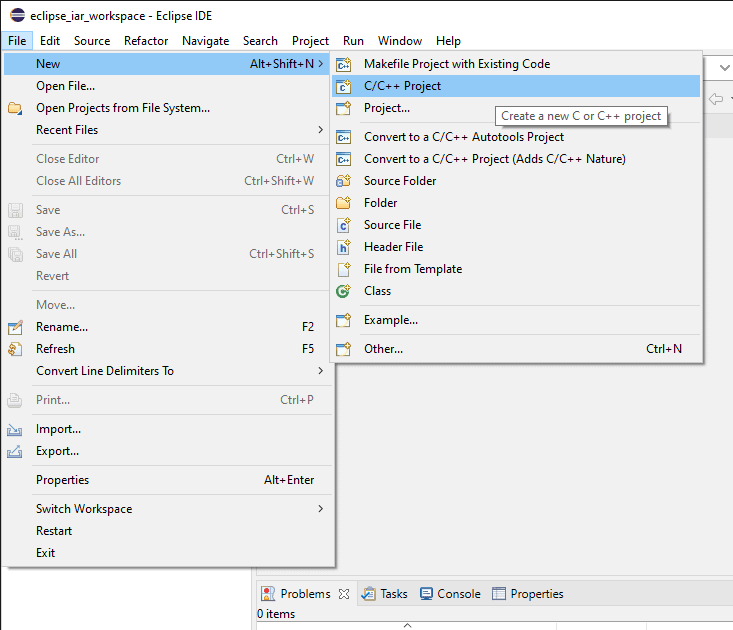
This should open the “New C/C++ Project” dialog.

Select “C Managed Build” and then click the “Next” button.
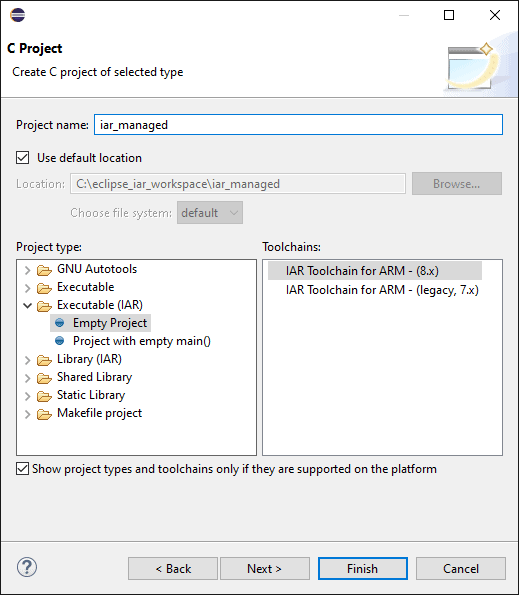
In this next panel, the project name and type must be selected. First enter the desired project name. Then select the “Empty Project” item from under the “Executable (IAR)” category. Next, make sure that the “IAR Toolchain for ARM – (8.x)” option is selected unless you are using an older, legacy version of the IAR toolchain.
Click “Next” to continue with the wizard. Note that it is possible to exit the wizard by clicking “Finish” but this will skip the device selection step.
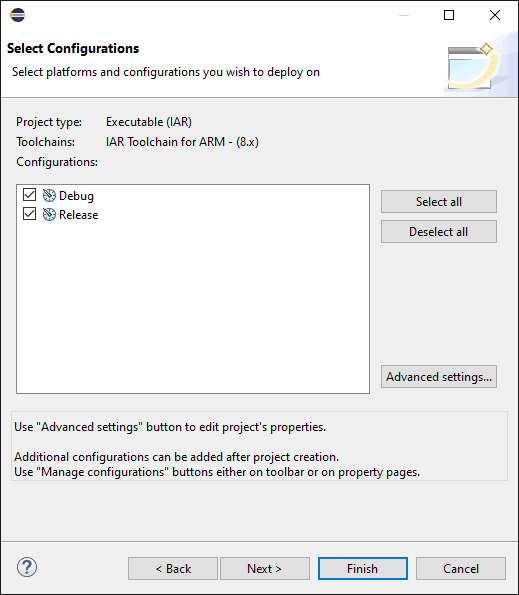
This next panel shows the build configurations for the project to be created. For the purpose of this guide, it is recommended to keep the default values.
Click “Next” yet again to continue further to the device selection dialog.

In the device selection dialog select the target device for the new project. This example uses the A7 core of the NXP i.MX7 SoC but any of the supported targets can be used.
Click “Finish” to exit the wizard and create the project. The newly created project should appear in the workspace on the left panel of the IDE.
To demonstrate building and debugging this example uses an empty main function.
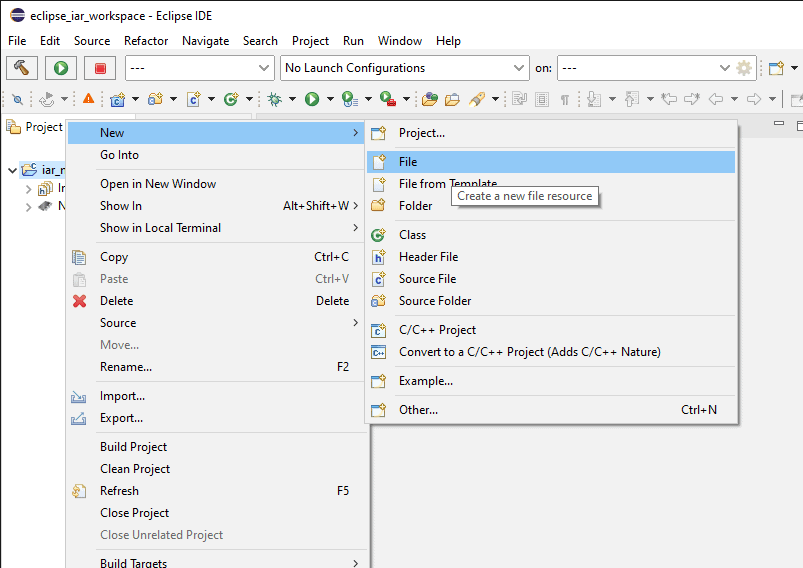
To add the example file to the project right-click on the project root in the workspace and select “New->File”. This opens the new file dialog.
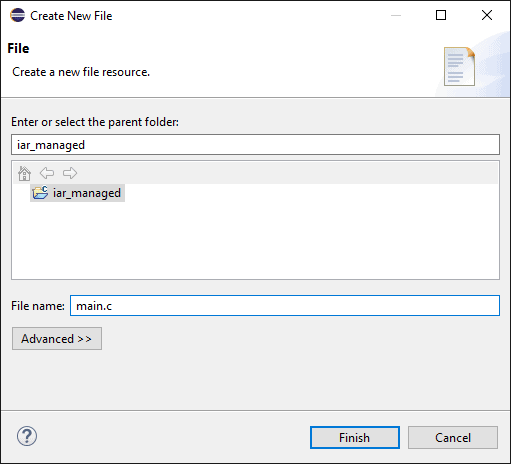
Name the new file main.c and click “Finish”.
The new file is now showing in the project and should be open in the IDE. Type the following empty function into the newly created file before continuing.
void main(void)
{
    for(;;) {

    }
}
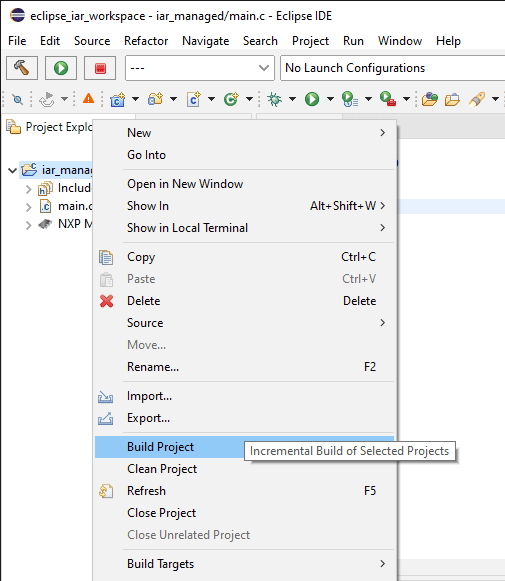
Now right-click again on the root of the project and select “Build Project”. This should start building the project. Note that you might get errors if a valid IAR licence isn’t available for the IAR toolchain. See the previous sections on how to request an evaluation licence.

Before long the project should be built and is now ready to be loaded to a target for debugging.
With this the project is now ready to be loaded on a target and debugged. Check out part 3 for instructions on how to create a Makefile project using the IAR Eclipse Plugin or part 4 for information on creating a debug configuration.
Visit the Documentation section for a PDF version of this guide including project and debugging setup.