A PDF version of this guide, including project setup and debugging is available in the Documentation section.
This guide is aimed at IAR Embedded Workbench users who are interested in integrating the IAR tools within Eclipse. For instructions relating to integrating GCC within Eclipse see this guide.
Few embedded software developers haven’t heard of IAR Embedded Workbench. IAR EW includes a complete embedded development toolchain (compile, assembler and linker) as well as a dedicated debugger for embedded platforms named C-SPY. On top of that, additional analysis and visualization are available with C-Stat and C-Run. All of that is integrated into a proprietary IDE. Additionally, for developers used to Eclipse, IAR maintains an Eclipse integration with full-featured build and debug support for ARM architectures and build only support for many other architectures.
Perhaps surprisingly, it is one of the best Eclipse integration around. In this new series of guides, we’ll look at how to setup and use the IAR Eclipse plugin. The current article will focus on tools installations and configurations. Future articles will go over managed build and Makefile projects as well as debugging.
About IAR Embedded Workbench
IAR Embedded Workbench is a complete set of compiler toolchain, debugger and IDE for embedded software development targeting multiple CPU architectures and device manufacturers. Additional information about IAR Embedded Workbench can be found on the IAR website.
About Eclipse
Eclipse is a cross-platform IDE that supports multiple programming languages. This document will mainly use the Eclipse CDT environment for C and C++. Additional information about the Eclipse IDE can be found on the Eclipse.org website.
Tools Setup Guide
This section will go over the Eclipse IDE and the IAR toolchain setup. The following instructions will go through the installation and configuration of the following components in order:
- Eclipse – 2020.12 – eclipse-inst-jre-win64.exe
www.eclipse.org - IAR Embedded Workbench for ARM – 8.50.9 – EWARM-CD-8509-33462.exe
www.iar.org - MSYS2 (Optional) – 20200903 – msys2-x86_64-20200903.exe
www.msys2.org
The versions cited above are those that were used when writing this guide. Installation instructions for newer versions, if available, should be similar.
Note About the Java Runtime Environment
Eclipse is now packaged with a suitable JRE. However using the JRE over a JDK may cause some dependency issue when installing the IAR Eclipse Plugin. This guide will use JDK version 14. To ensure that the JDK is used it must be installed prior to installing Eclipse and must be selected on the Eclipse install dialog as shown in the guide.
Note About MSYS2 and Makefile Projects
The following guide includes instructions on how to install MSYS2. This is optional to use the IAR Embedded Workbench within Eclipse and is only useful when creating Makefile projects which require GNU Make to be available. Readers who are not interested in creating Makefile projects using IAR do not need to install MSYS2 for the purpose of this guide.
IAR Embedded Workbench Installation
The first package to install is the IAR Embedded Workbench for ARM. Running the IAR installer, EWARM-CD-8509-33462.exe in this example, the following dialog should appear.
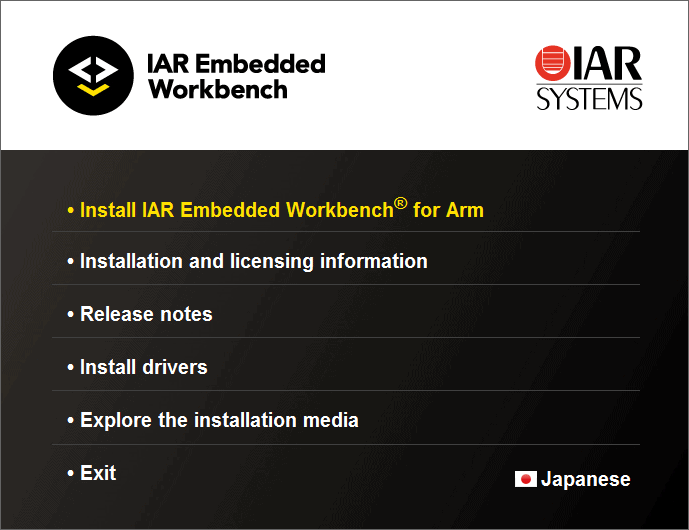
On the installer menu select “Install IAR Embedded Workbench for ARM”. This will start the IAR EWARM installation wizard proper.
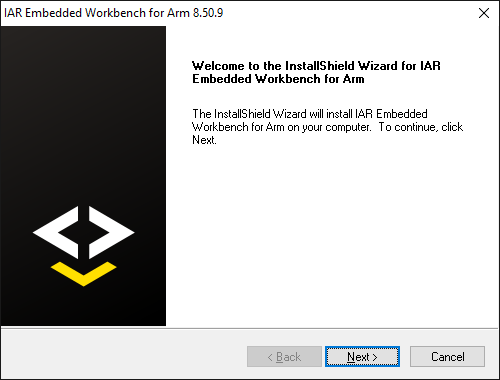
Click “Next” to display the license agreement.
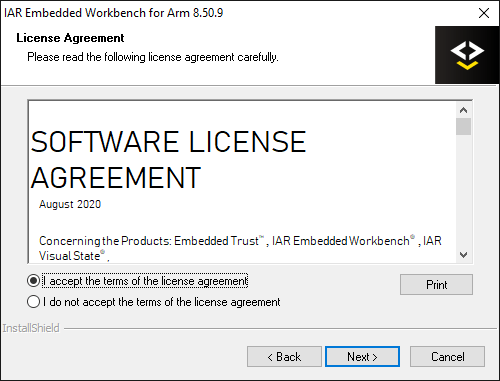
Accept the license agreement and click “Next” again to move to the installation path selection screen.
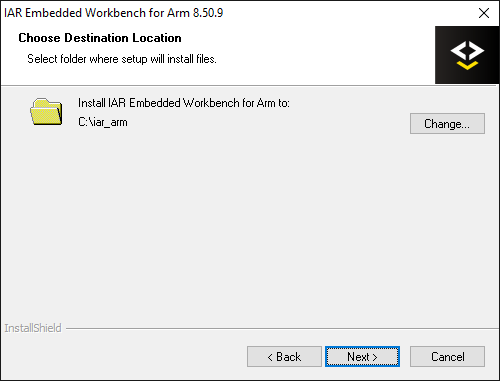
The wizard will install the IDE within the usual “Program Files” directory. If, however, you intend to use the IAR toolchain with custom Makefiles it is recommended to install IAR within a different directory with a short path containing no spaces or special characters. In this example, C:/iar_arm will be used as the installation directory.
Click “Next” to continue the installation wizard and display the drivers installation selection screen.
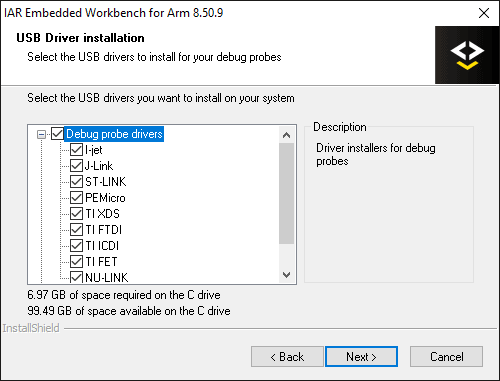
By default all the debug probe drivers will be selected. Drivers that aren’t needed can be removed from the selection if desired. Click “Next” to continue.
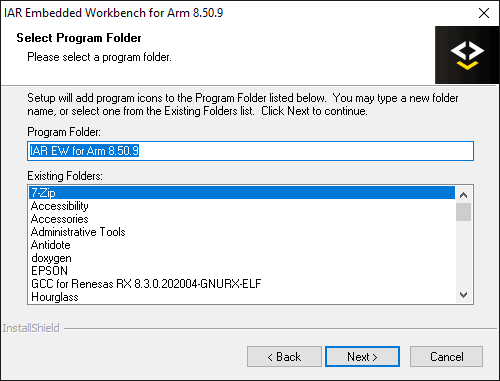
Change the start menu entry if desired and click “Next” again.
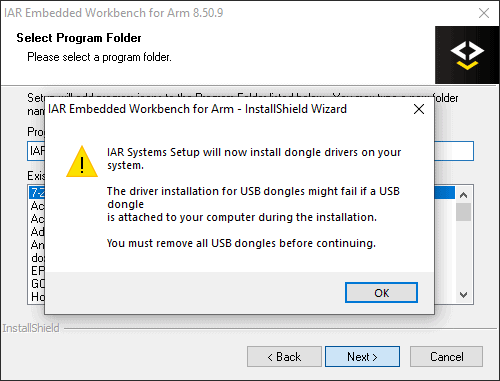
If the dongle driver was selected in the driver selection screen, a warning dialog will be displayed instructing the user to remove any IAR dongles present on the host machine before proceeding. Click “OK” to dismiss the warning.
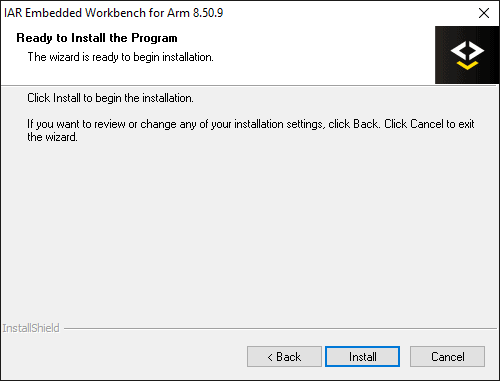
Click “Install to begin the installation process which may take a few minutes.

The installation will proceed and once finished the installation completed screen should appear.
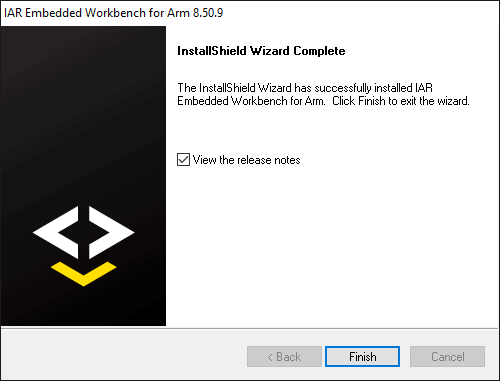
On the installation completed screen, you have the option to view the release note which will open in the default web browser. Otherwise click “Finish” to end the installation.
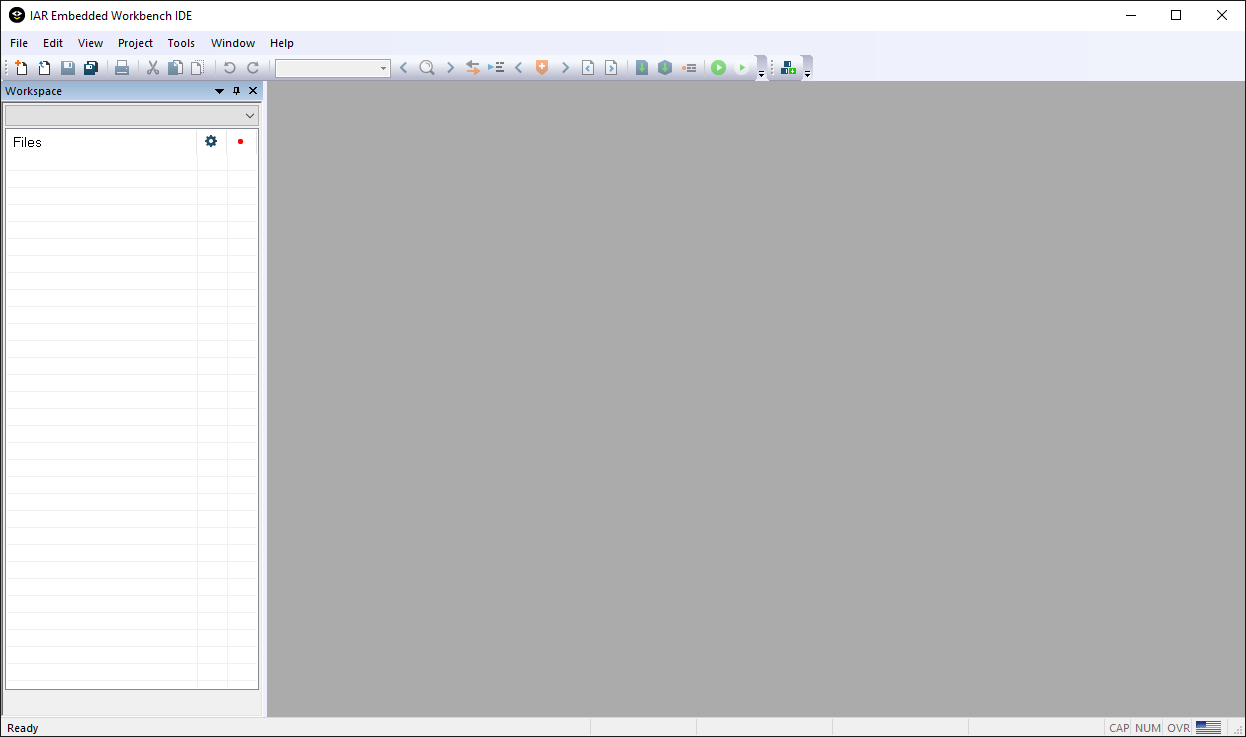
From the created start menu entry, launch the IAR Embedded Workbench that was just installed.
A splash screen will be displayed briefly while the IDE loads, then the IDE should appear.
If there is no valid license installed on the host computer, the IAR License Manager will start automatically. From there you can either install an available purchased license or request a code size limited or time-limited evaluation license.
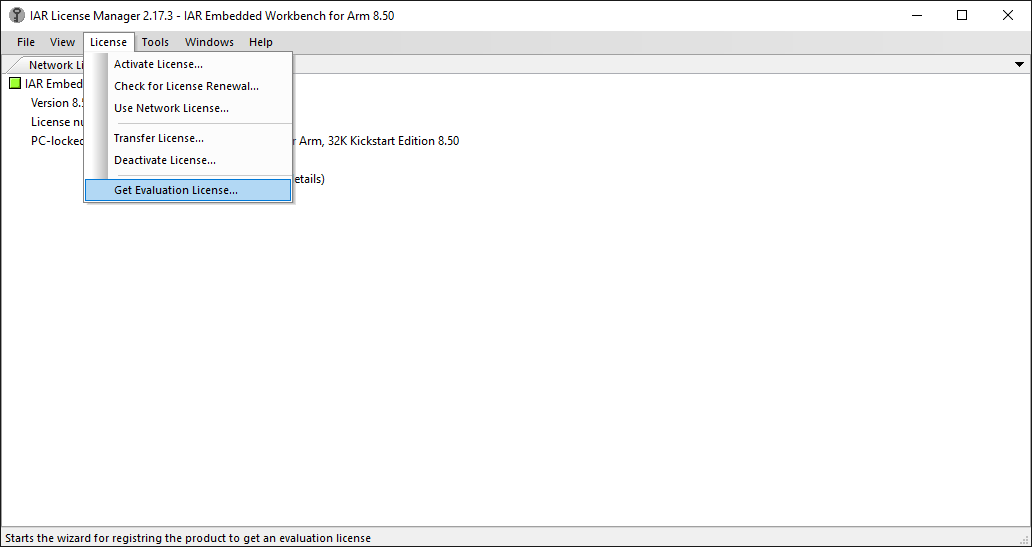
Follow the instructions on screen to install the selected license type.
Once done with the IAR installation and license setup close the IAR IDE for the moment to proceed with the Eclipse installation.
Eclipse Installation
The next package to install is the Eclipse IDE. Begin by executing the installer file. Note that if possible the 64-bit version of Eclipse is strongly recommended. In this example eclipse-inst-jre-win64.exe, the following screen should appear.
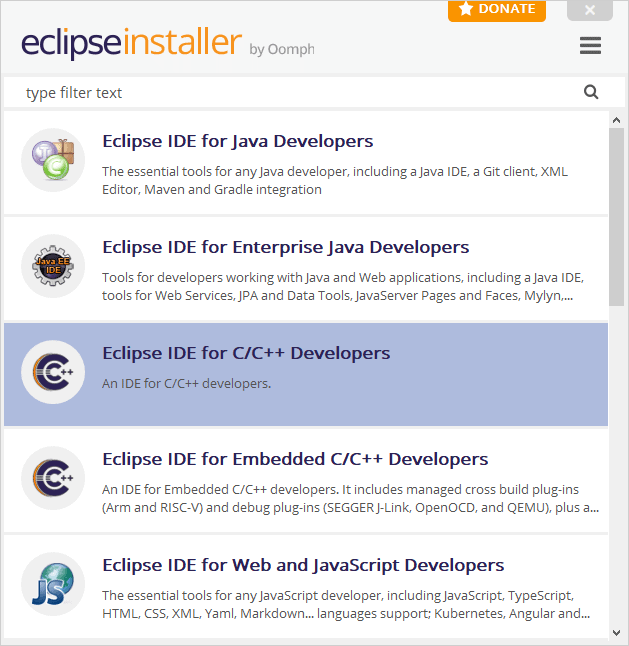
Select “Eclipse IDE for C/C++ Developers” by clicking it. Note that it’s also possible to use the “Eclipse IDE for Embedded C/C++ Developers” but the extra features provided by the embedded developers edition aren’t useful when using the IAR Eclipse plugin.
The installation path and JVM selection dialog should appear.
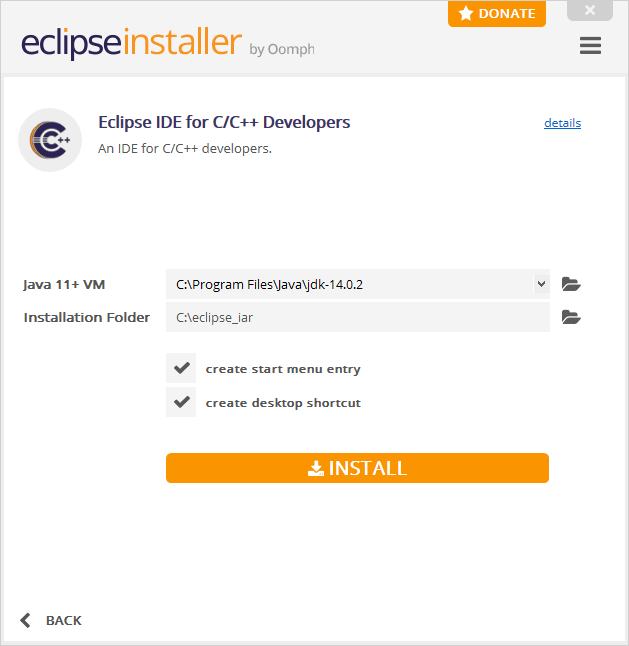
In the first selection box, the Java Virtual Machine to be used by Eclipse must be selected. By default the installer will automatically select a suitable JRE or JDK if one is found on the host machine. Otherwise the bundled JRE will be used. As mentioned earlier in this guide, JDK version 14 or later is recommended to prevent dependency issues when installing the IAR plugin. This guide uses JDK 14.0.2.
For the installation directory, it is recommended to use a unique directory that is short with no spaces in the name as the eclipse install directory. In this example we will use C:/eclipse_iar as the install directory. The eclipse installer will automatically create an eclipse subdirectory inside the specified installation path. Finally, it is possible to create a start menu entry and/or a desktop shortcut if desired.
Click the “Install” button to begin the installation process.
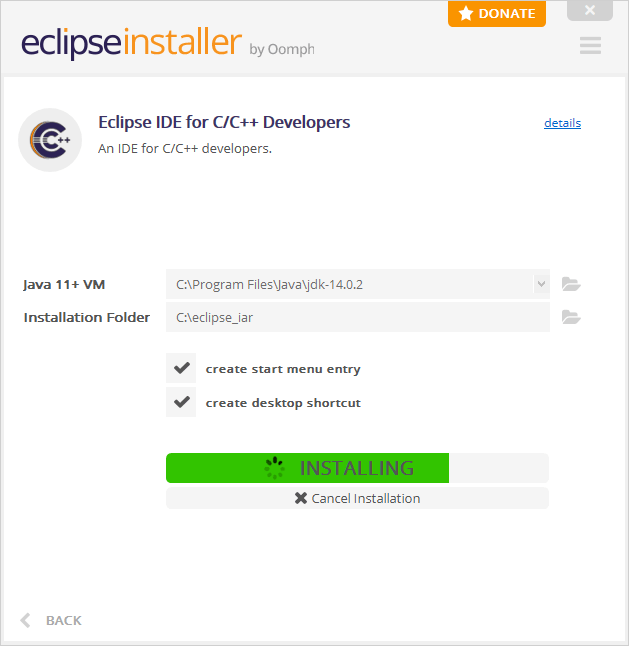
By default the installer will download Eclipse during the installation process which may take longer on slow internet connections. An offline installer is available from eclipse.org if necessary.
The installation should eventually finish.
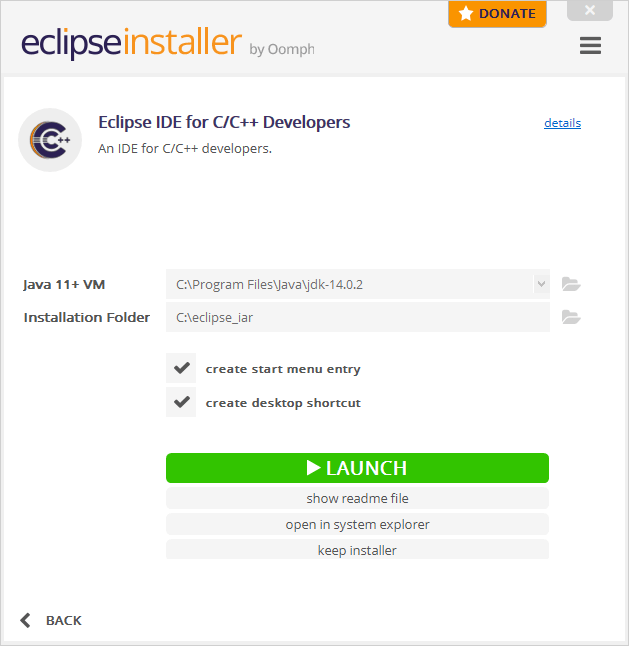
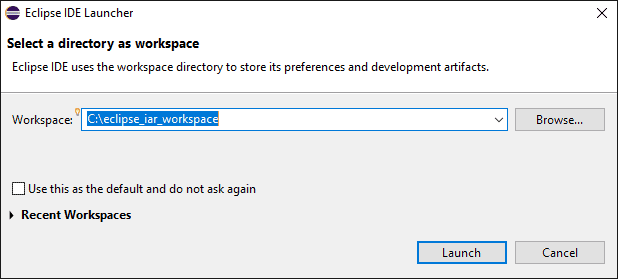
Click “Launch” to check that the Eclipse installation works properly. The workspace selection dialog should appear.

It is strongly recommended to create a unique workspace that will be used exclusively for the projects related to the IAR toolchain that will be installed in this guide. The workspace selected should not have a path name that is excessively long and it is recommended not to use spaces in the path name either. For the purpose of this guide C:/eclipse_iar_workspace will be used as the workspace.
Click “Launch”.

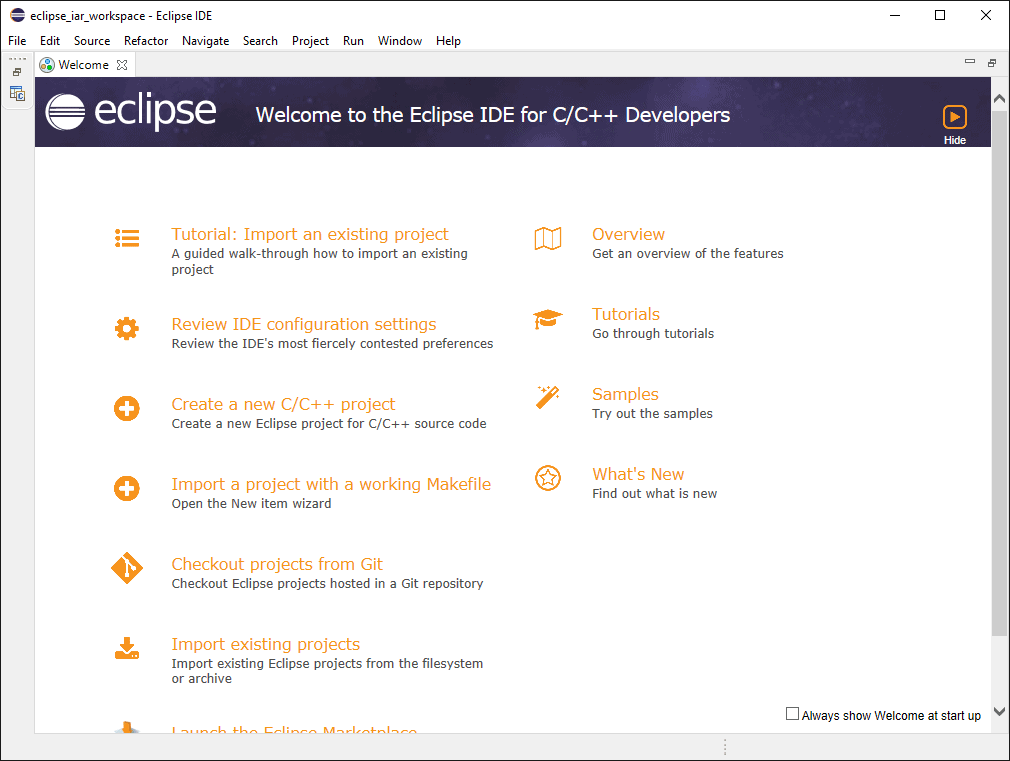
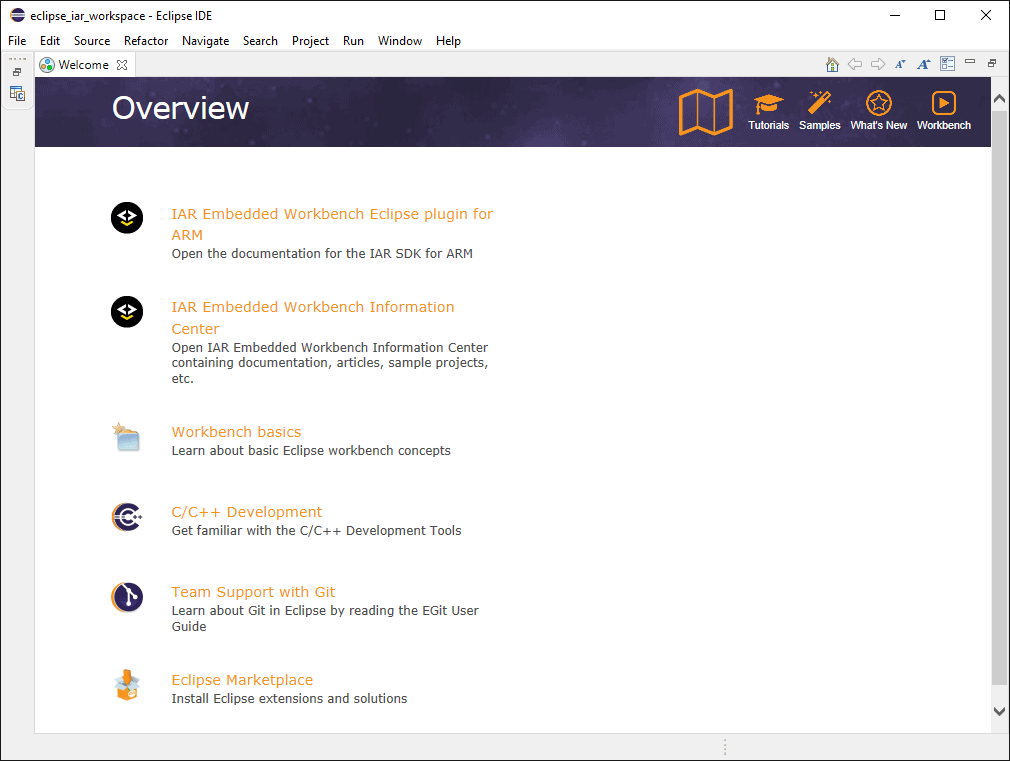
After a few seconds, the Eclipse welcome screen should appear.
IAR Embedded Workbench for Eclipse Installation
After having installed Eclipse and the IAR Embedded Workbench it is now time to install the IAR Eclipse plugin manager and register the IAR ARM toolchain installed previously.
Launch Eclipse if it’s not already started. The workspace selection dialog should appear.
If one wasn’t created earlier, you must select a directory for the Eclipse workspace. It is strongly recommended to create a unique workspace that will be used exclusively for the projects related to the IAR toolchain that will be installed in this guide. The workspace selected should not have a path name that is excessively long and it is recommended not to use spaces in the path name either. For the purpose of this guide C:/eclipse_iar_workspace will be used as the workspace. Click “Launch” to open the Eclipse IDE with the selected workspace.
First things first, find the well hidden “Install New Software” from the Help menu.
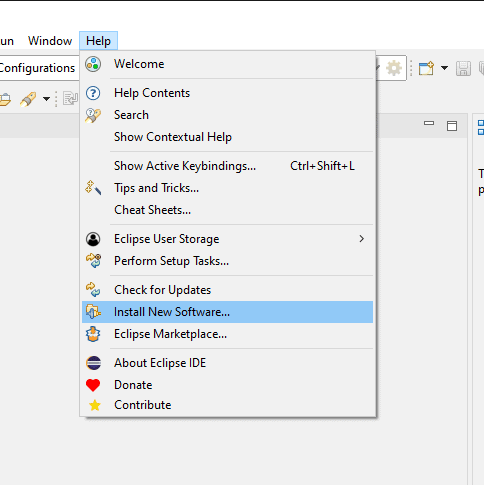
Clicking it will open the Eclipse update site manager.
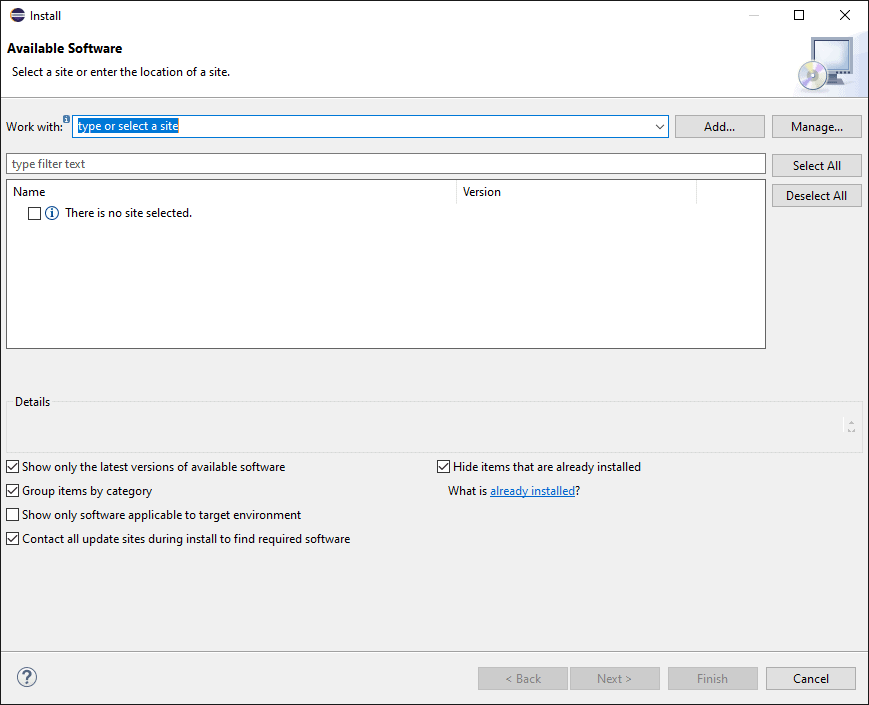
Type http://eclipse-update.iar.com/plugin-manager/1.0 in the “Work with:” field and press enter. The screen should update to show the available software from the IAR update site.
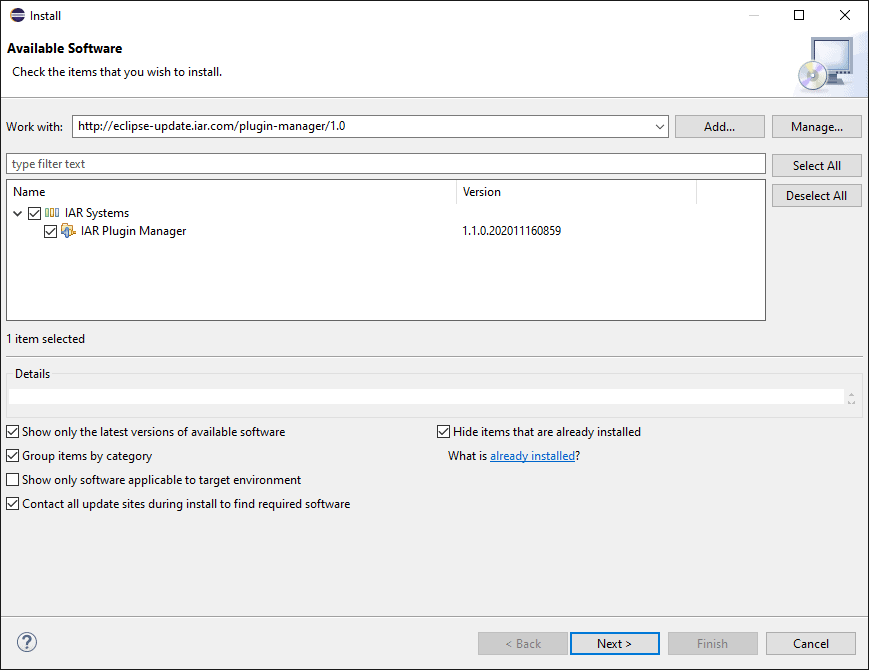
Expand the “IAR Systems” line item and click the checkbox next to “IAR Plugin Manager”. Then click “Next” to be taken to the installation summary screen.
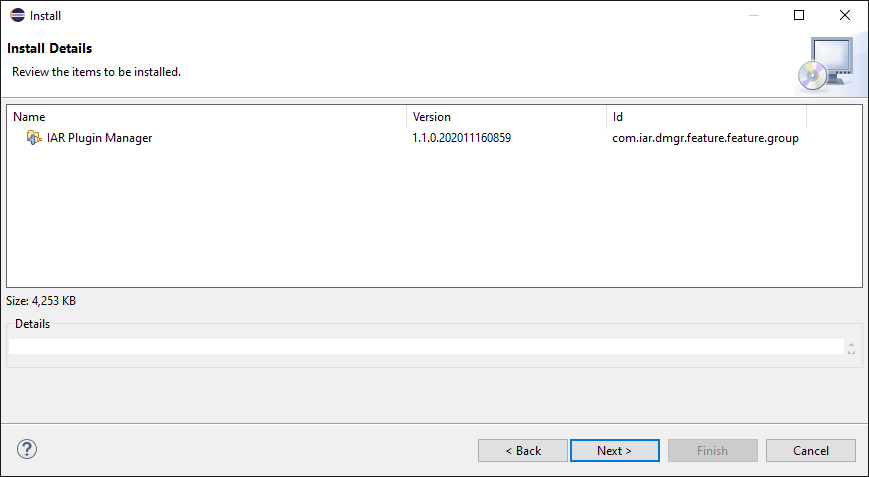
Click “Next” again to be taken to a license agreement screen.
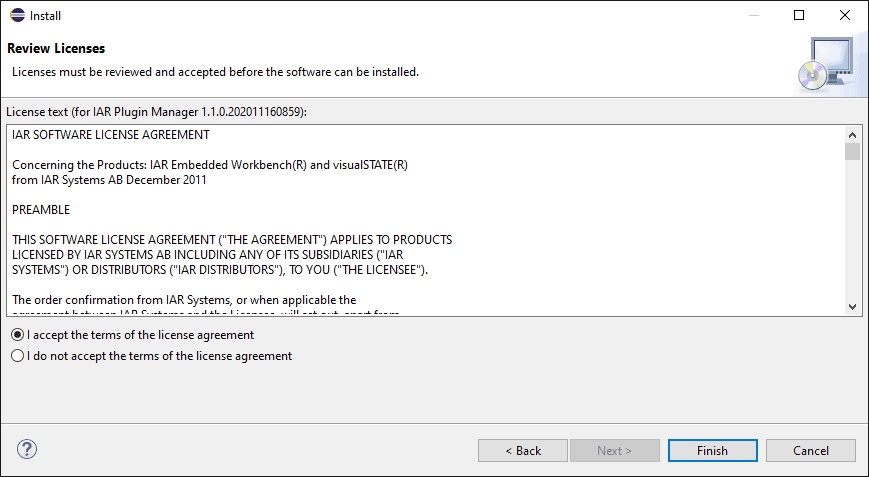
Make sure to accept the license and click “Finish”. The installation will proceed with the progress displayed in the right bottom corner of the IDE. Do not close Eclipse until the installation completes.
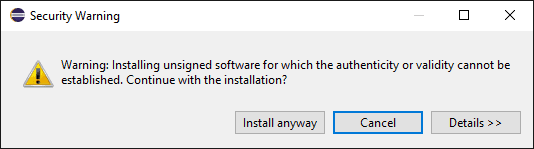
It’s possible that a warning dialog appears warning against installing unsigned content. Click “Install anyway” to progress with the plugin installation.
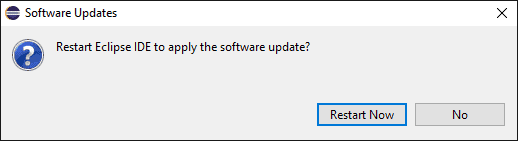
Eventually, when the installation has completed, a dialog prompt will ask to restart Eclipse to enable the newly installed plugin. Do so by clicking “Restart Now”.
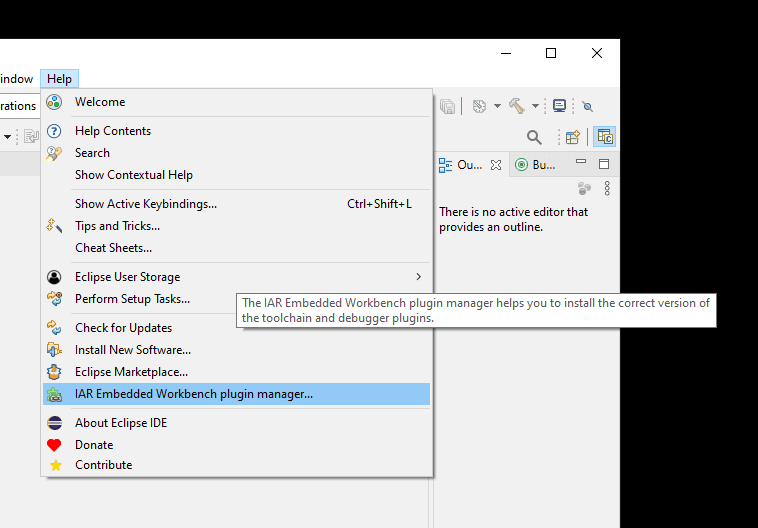
After the IDE restarted, there will be a new menu item under the “Help” menu named “IAR Embedded Workbench plugin manager”. Click it to open the manager.
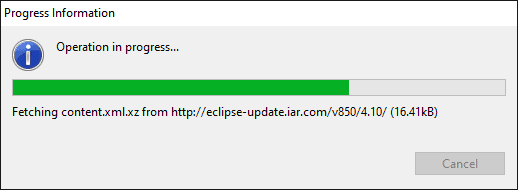
Loading the manager for the first time might take a few seconds as it queries the updated plugin online.
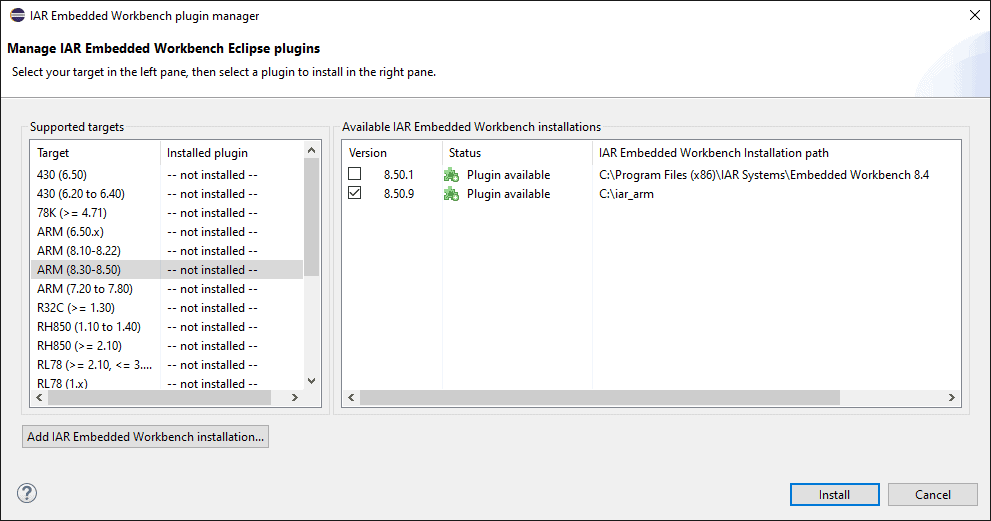
Once fully loaded the manager will display all the different versions and targets supported by the IAR Eclipse plugin. Clicking on “ARM (8.30-8.50)” should display the toolchain installed earlier in this guide.
Select the installed toolchain, here in this example it is version 8.50.9 installed in the iar_arm directory. Note that any other existing installation will also be displayed as shown in the example there was an existing installation of IAR 8.50.1 in the program files directory. If it is the case that more than one toolchain is displayed make sure you select the one you want to use within Eclipse. After selecting the toolchain click “Install”.
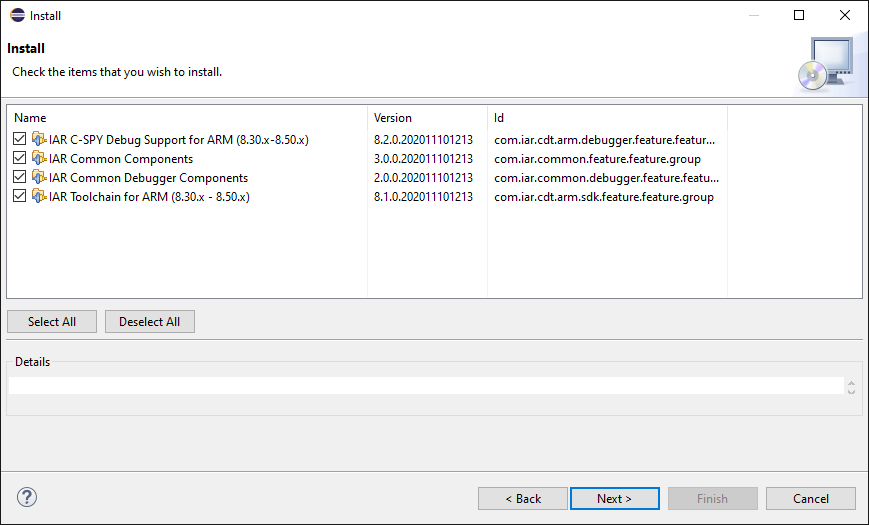
In the Install screen make sure to select all the available components to install. While it may be possible to remove one of the components if it’s not needed, this can cause issues later. Click “Next” to proceed.
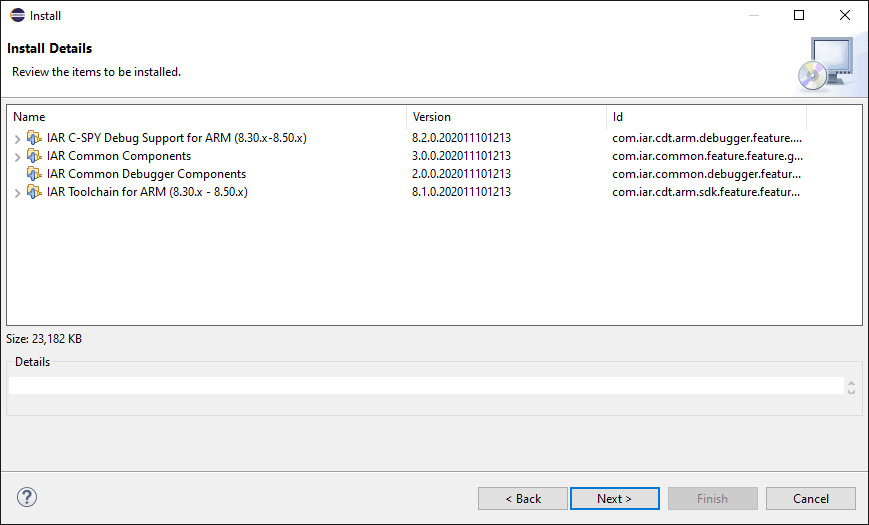
On the installation summary screen click “Next” again to be taken to another license agreement screen.
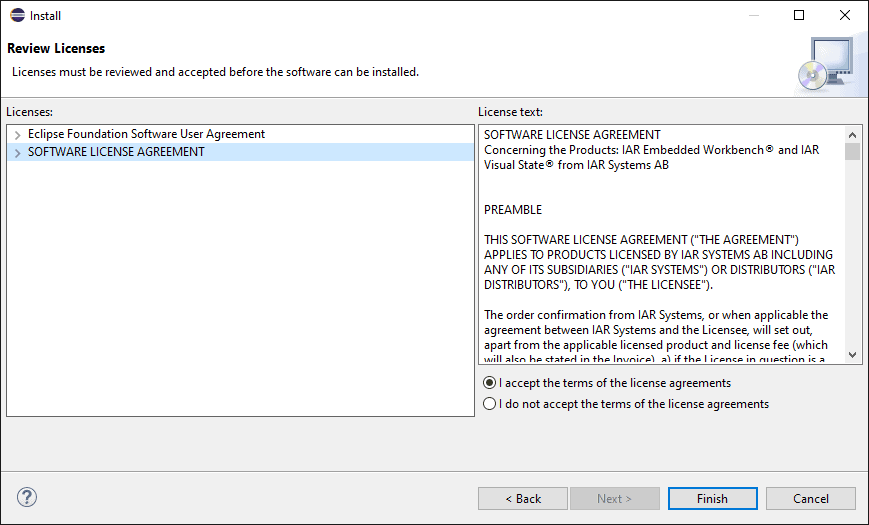
Make sure to accept the various licenses and click “Finish”. The installation will proceed, again the progress is displayed in the lower right corner of the IDE. Once finished another prompt to restart Eclipse will appear.

Click “Restart Now” to restart Eclipse. If all went well, the IAR toolchain is now usable within Eclipse.
MSYS2 Installation
MSYS2 is used to provide the GNU Make utility and is not necessary to use the IAR Eclipse Plugin but can be useful when writing Makefile projects. There are multiple options when it comes to installing a basic UNIX environment in Windows, including the well-known Cygwin. This guide will use MSYS2 since it offers superior build performance and good compatibility with native Windows paths. If compatible with the host system, the 64-bit version of MSYS2 is recommended, which is labelled x86_64.
The installation can be started by executing the executable installation file, in this example msys2-x86_64-20180531.exe, the following screen should appear:
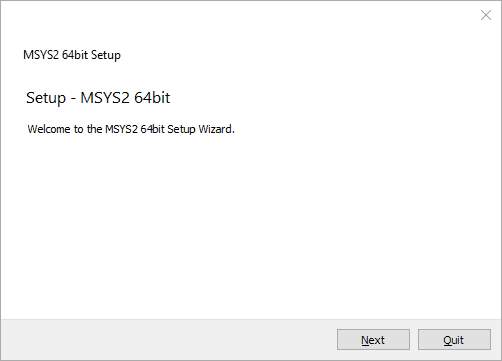
Click Next.
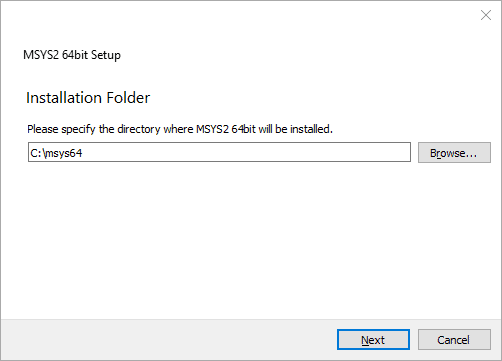
Enter the desired installation directory, the installation directory should be short with no spaces in the path. This guide will assume that the default installation directory of C:/msys64 is used. Click Next.
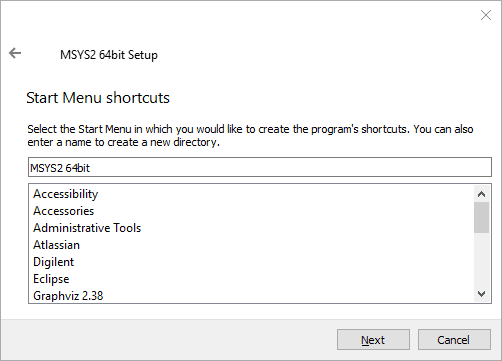
The installer will now prompt for the name of the start menu shortcut. It is recommended to use the default name. Click Next.
Installation should begin.
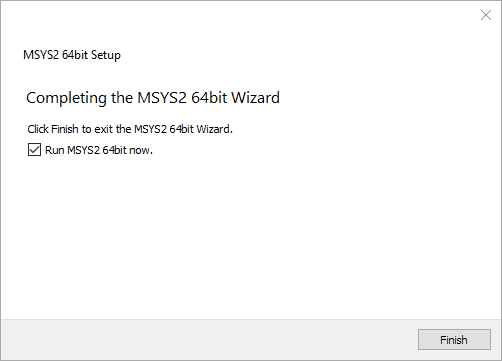
The installation should finish successfully. Make sure that “Run MSYS2 64 bit now.” is checked.
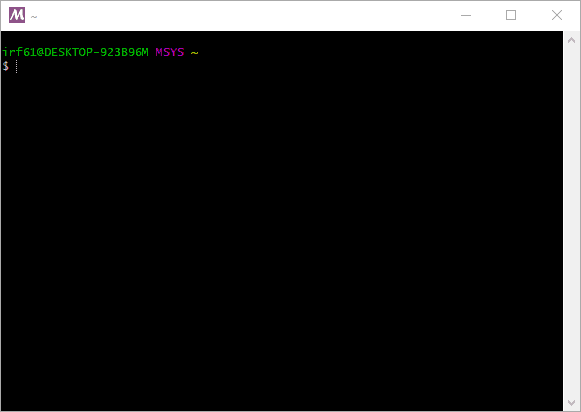
The MSYS2 console should open. It is now necessary to perform an update of the MSYS package manager by typing:
pacman -Syu
And press enter.
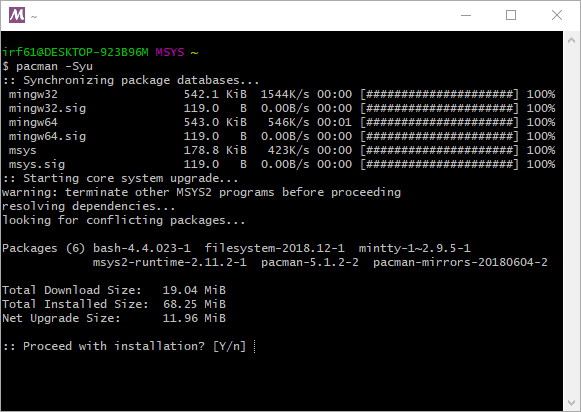
After downloading the update information, a prompt will appear to ask for permission to proceed with the installation. Type Y and press enter to continue.
Download and installation will proceed, this can take several minutes depending on network connection and computer performance.
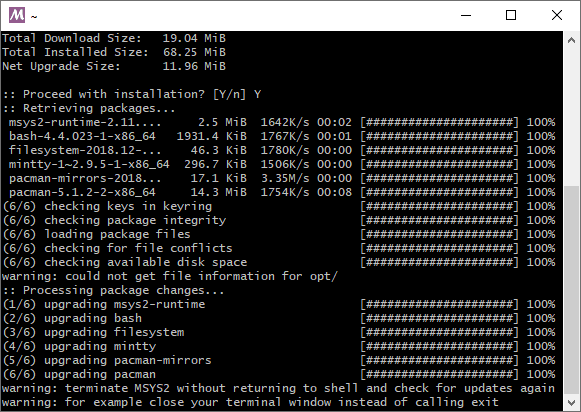
It is likely that a warning message is displayed at this point asking to return to the shell and restart the update process. When this occurs exit the MSYS2 console by pressing the X button on the top right corner of the window. It is important to quit the console that way otherwise the warning may reappear in the next invocation.
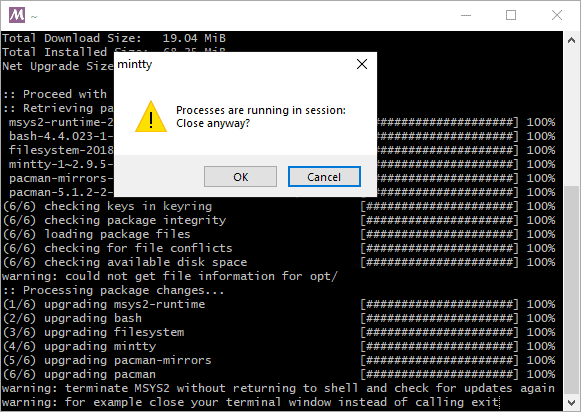
A warning message will be displayed, press OK to proceed with the close.
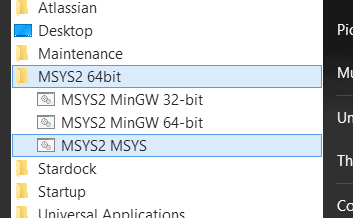
Open the MSYS2 console again by navigating to the start menu item for MSYS2 and clicking MSYS2 MSYS.
Once opened type:
pacman -Su
And press enter to continue the update process.
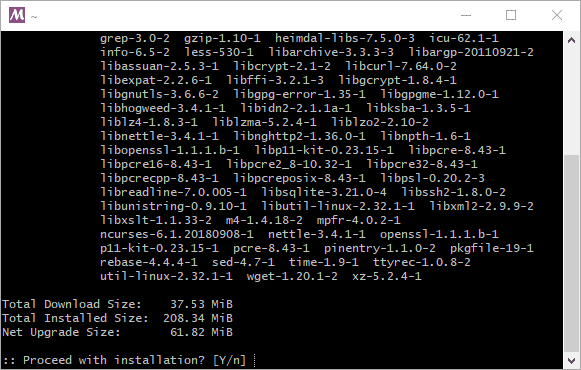
A prompt asking for permission to continue will appear again. Type Y and press enter to continue.
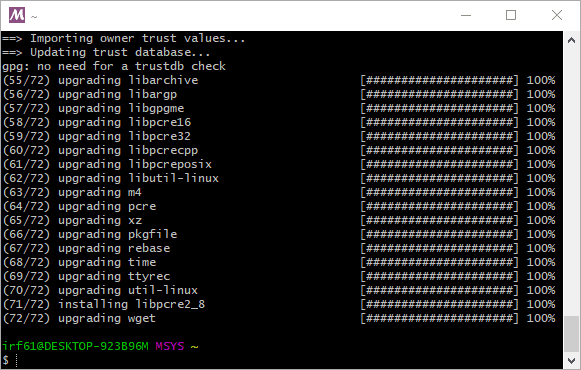
Download and installation will proceed, like the previous step this can take several minutes depending on network and computer performance.
Installation should complete without any error or warning messages.
With the package manager updated and synced it is time to install the basic development utilities. This can be achieved by typing:
pacman -S base-devel
A list of packages to be installed will appear.
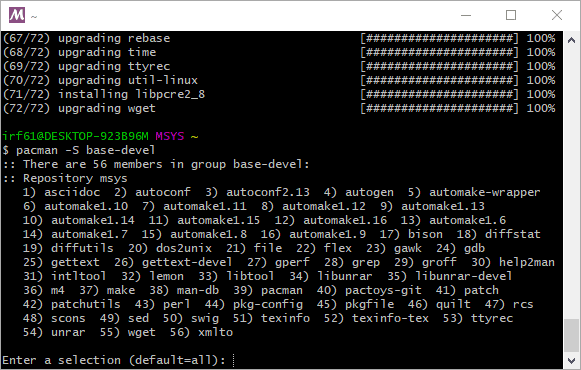
Press Enter to continue.
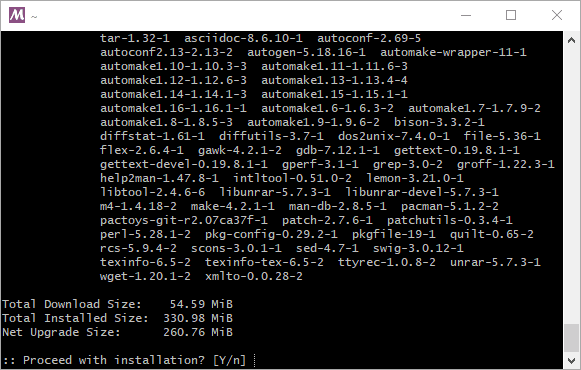
Type Y and then Enter to continue.
Download and installation will proceed, this can take several minutes depending on network and computer performance.
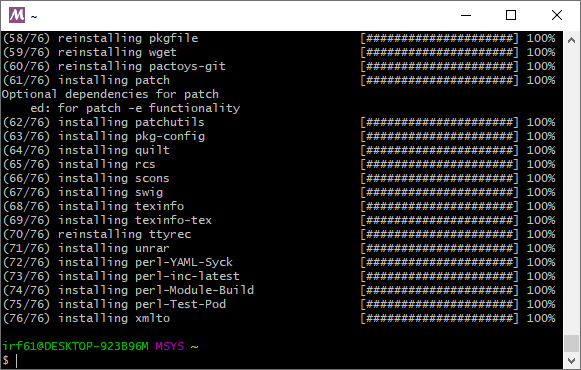
The installation should complete without any error or warning messages.
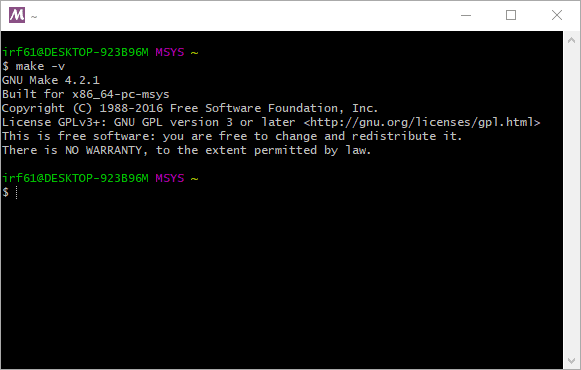
To test that the installation is functional, let’s run a simple test by invoking the make utility as such:
make -v
The make utility should output its version information in the console.
Environment Variable Setup
For the MSYS2 executables to be easily accessible by Eclipse, Make and other utilities it is preferable to have the toolchain binary location in the PATH environment variable. Note that these steps are not required if MSYS wasn’t installed.
Start by opening the Windows Control Panel.
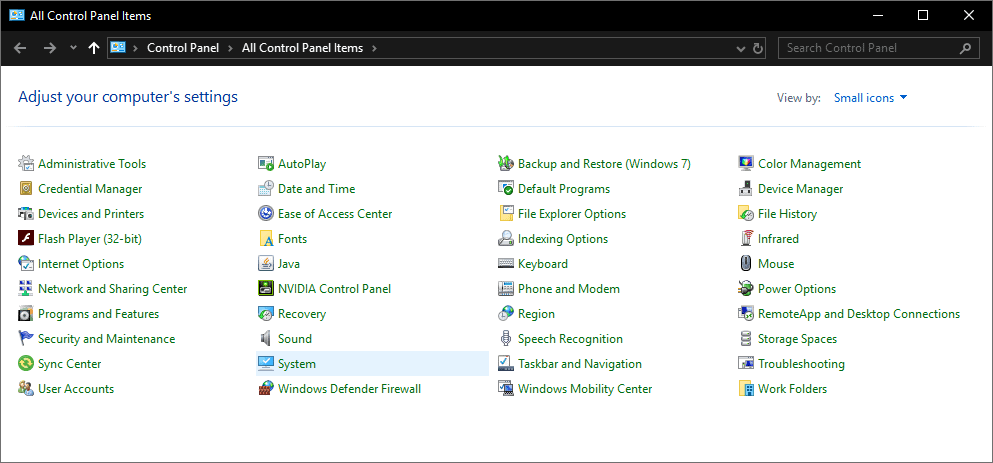
Click “System”.
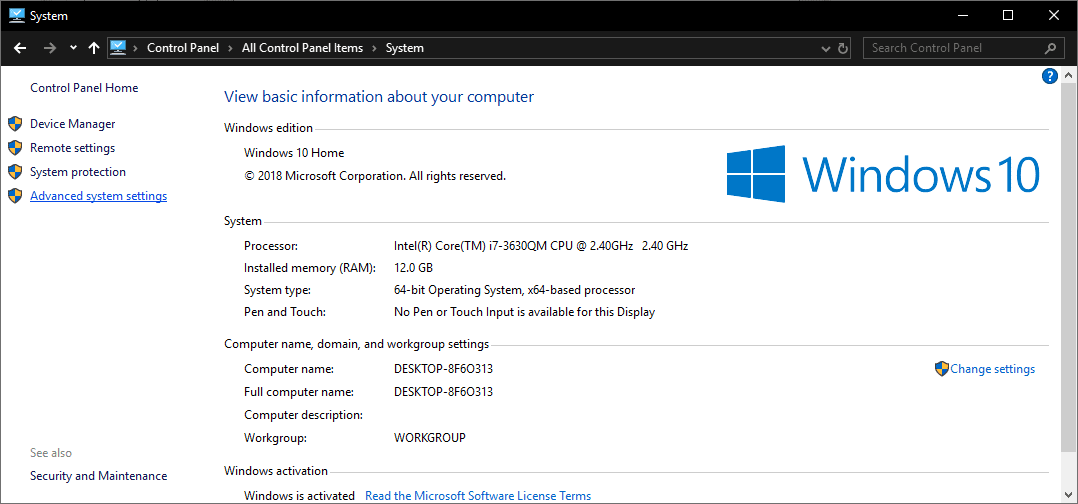
Click “Advanced System Settings”.
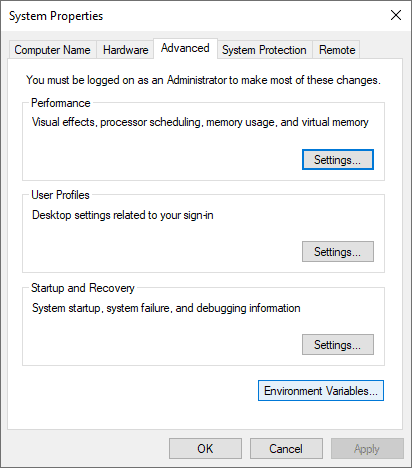
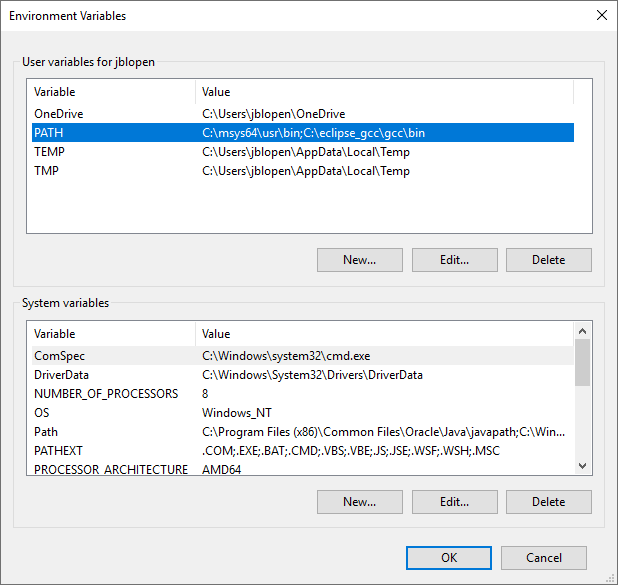
Click “Environment Variables”.
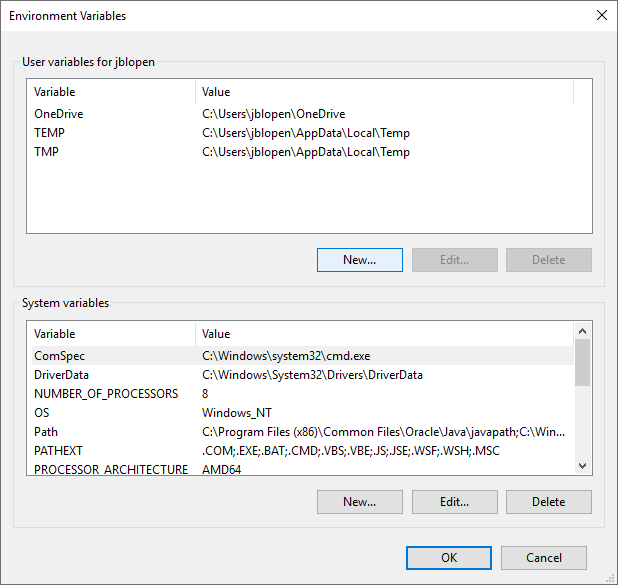
In this screen, if an existing PATH environment variable exists, click it and then click “Edit…” otherwise click “New…”
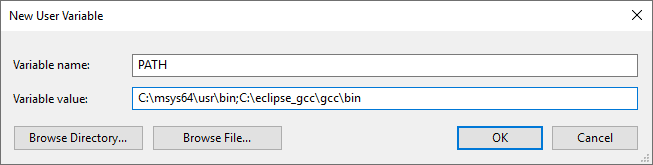
The path should be added either to the existing PATH variable or a new one. The usr/bin subdirectory of the MSYS2 installation should be used. For the install directory chosen for this example, this results in the following path:
C:/msys64/usr/bin;
Then click OK.
Then OK again to exit the Environment Variables window.
At this point all is ready to go to use the IAR Embedded Workbench within the Eclipse IDE. The next articles will focus on managed build and Makefile projects as well as debugging configuration.
Click here to read the next article in this series about creating a managed build project using the tools installed in this article.
Visit the Documentation section for a PDF version of this guide including project and debugging setup.