A PDF version of this guide, including project setup and debugging is available in the Documentation section.
This guide is targeted at Windows users, similar instructions for Linux can be found here.
Nowadays there is a multitude of free and commercial IDEs and Toolchain for embedded development. In addition, most MCU manufacturers offer a complimentary development environment for their products. From time to time and for various reasons, it can be desirable to integrate a GCC toolchain into a vanilla installation of Eclipse. This new series of guides will look into just that. Starting with the toolchain and Eclipse installation and configuration Windows to get a fully working C/C++ embedded software development environment. Future articles will deal with project creation and debugging.
This guide will attempt to make abstraction of the specific target as long as a GCC is used the instructions should be similar.
Setup Guide
This step-by-step section will go through the installation and configuration of the following components in order:
- MSYS2 – 20180531 – msys2-x86_64-20180531.exe
- Eclipse – 2019.03 – eclipse-inst-win64.exe
- GCC – 8-2018q4 – gcc-arm-none-eabi-8-2018-q4-major-win32.zip
The versions cited above are those that were used when writing this guide. Installation instructions for newer versions, if available, should be similar.
MSYS2 Installation
On Windows a basic UNIX environment is required to run the toolchain and more importantly supply the GNU Make utility. There are multiple options include the well-known Cygwin. This guide will use MSYS2 since it offers superior build performance and good compatibility with native Windows paths. If compatible with the host system, the 64-bit version of MSYS2 is recommended, which is labelled x86_64.
The installation can be started by executing the executable installation file, in this example msys2-x86_64-20180531.exe, the following screen should appear:
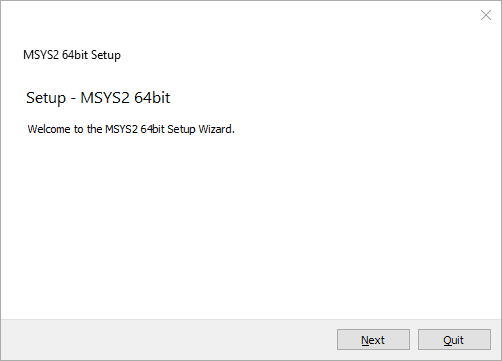
Click Next.
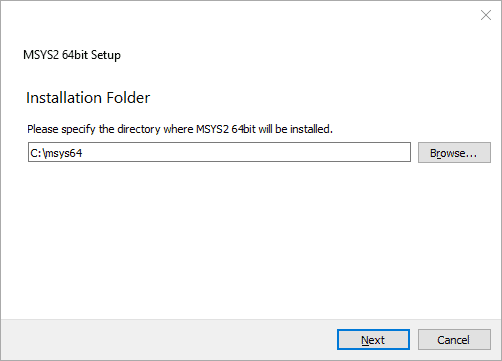
Enter the desired installation directory, the installation directory should be short with no spaces in the path. This guide will assume that the default installation directory of C:/msys64 is used. Click Next.
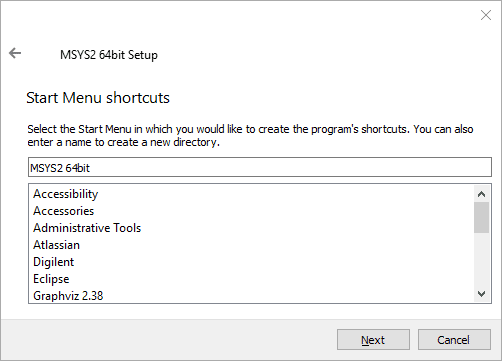
The installer will now prompt for the name of the start menu shortcut. It is recommended to use the default name. Click Next.
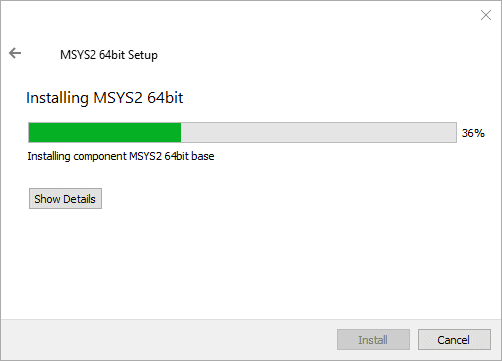
Installation should begin.
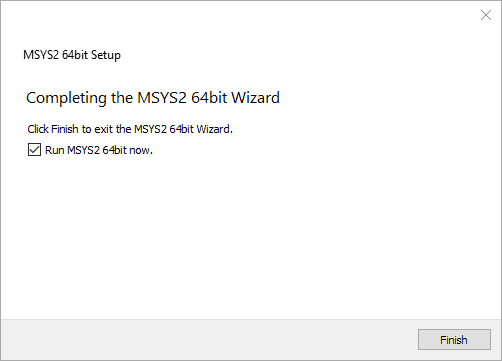
The installation should finish successfully. Make sure that “Run MSYS2 64bit now.” is checked.
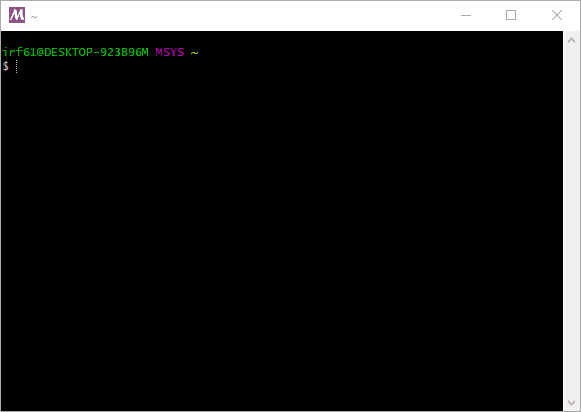
The MSYS2 console should open. It is now necessary to perform an update of the MSYS package manager by typing:
pacman -Syu
And press enter.
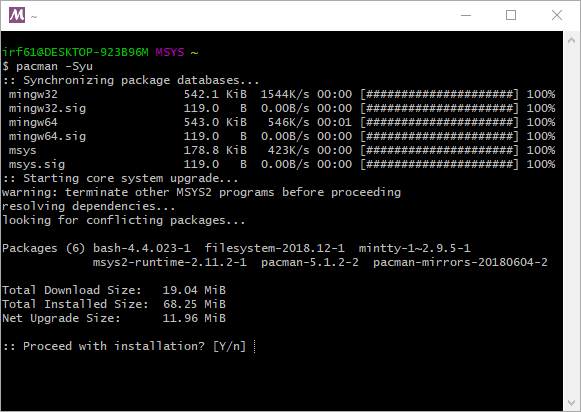
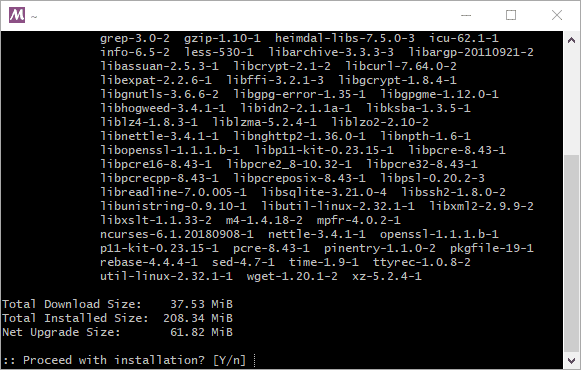
After downloading the update information, a prompt will appear to ask for permission to proceed with the installation. Type Y and press enter to continue.
Download and installation will proceed, this can take several minutes depending on network connection and computer performance.

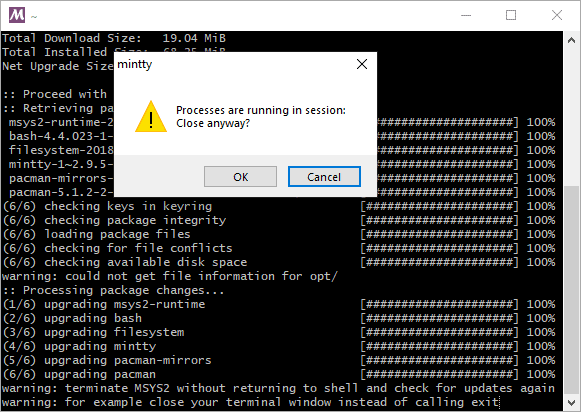
It is likely that a warning message is displayed at this point asking to return to the shell and restart the update process. When this occurs exit the MSYS2 console by pressing the X button on the top right corner of the window. It is important to quit the console that way otherwise the warning may reappear
in the next invocation.
A warning message will be displayed, press OK to proceed with the close.
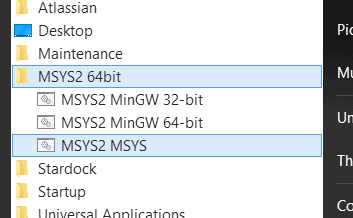
Open the MSYS2 console again by navigating to the start menu item for MSYS2 and clicking MSYS2 MSYS.
Once opened type:
pacman -Su
And press enter to continue the update process.
A prompt asking for permission to continue will appear again. Type Y and press enter to continue.
Download and installation will proceed, like the previous step this can take several minutes depending on network and computer performance.
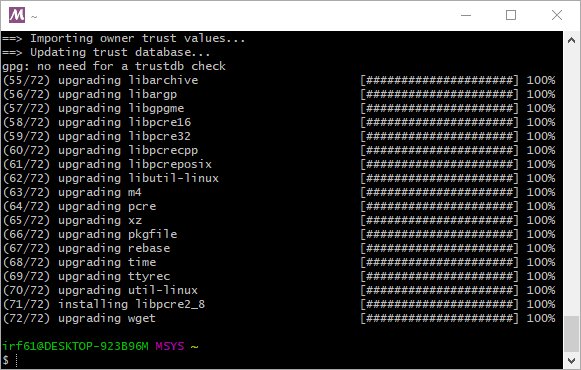
Installation should complete without any error or warning messages.
With the package manager updated and synced it is time to install the basic development utilities. This can be achieved by typing:
pacman -S base-devel
A list of packages to be installed will appear.
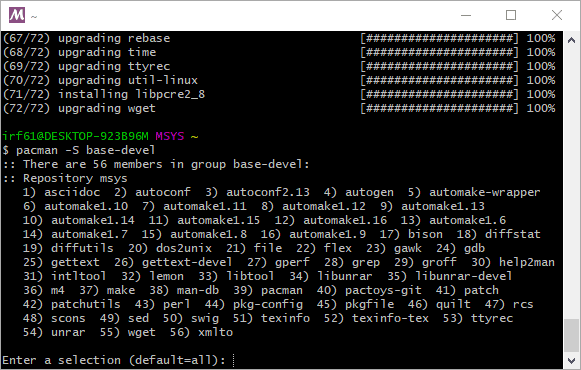
Press Enter to continue.
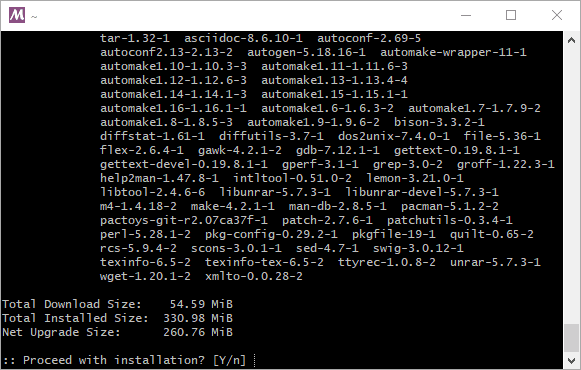
Type Y and then Enter to continue.
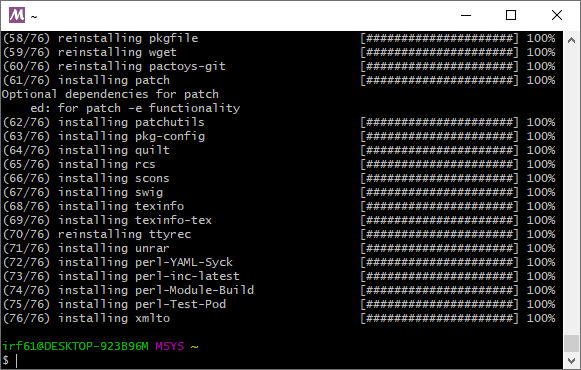
Download and installation will proceed, this can take several minutes depending on network and computer performance.
The installation should complete without any error or warning messages.
To test that the installation is functional, let’s run a simple test by invoking the make utility as such:
make -v
The make utility should output its version information in the console.
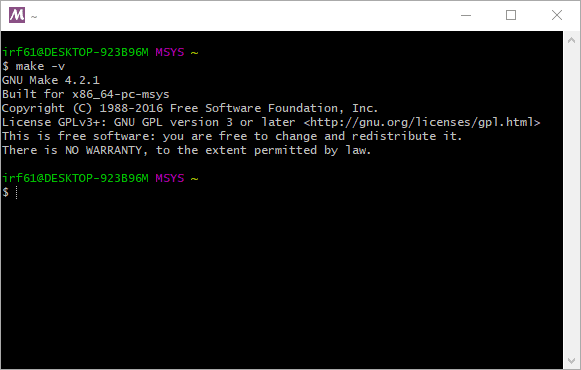
MSYS2 and the required utilities are now installed, the console window can be closed.
Eclipse Installation
The next package to install is the Eclipse IDE. Start by executing the installer file. Note that if possible the 64-bit version of Eclipse is strongly recommended. In this example eclipse-inst-win64.exe, the following screen should appear.
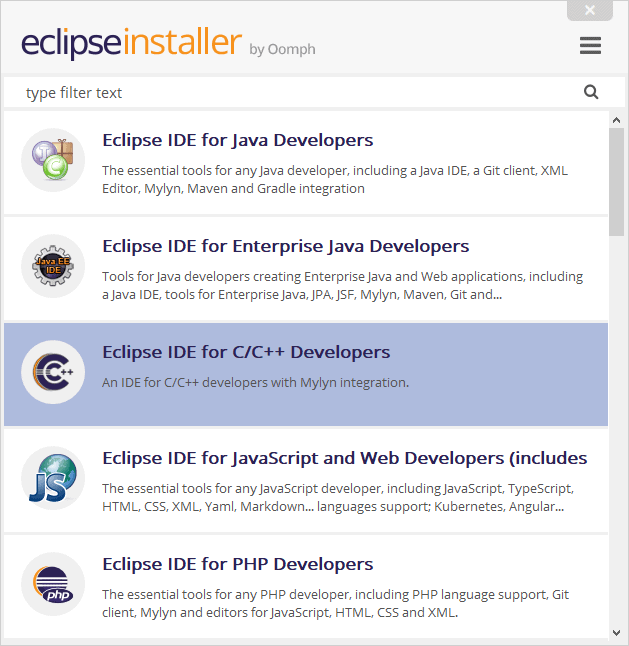
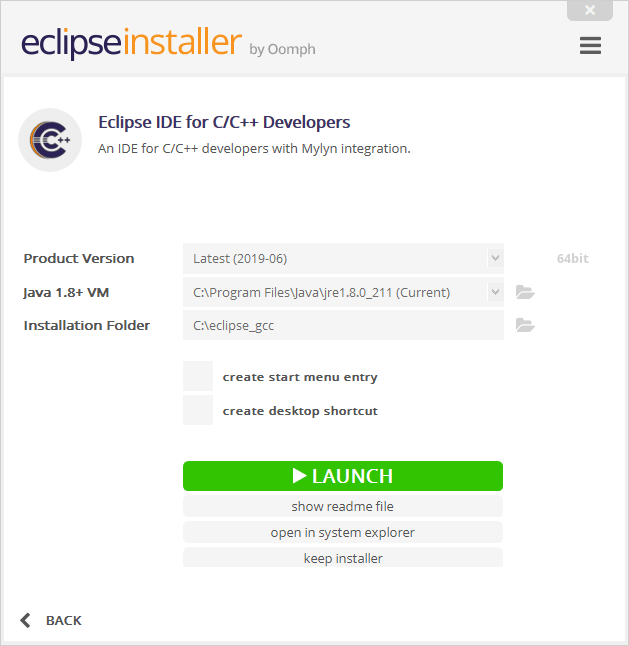
Select “Eclipse IDE for C/C++ Developers” by clicking it. The install configuration screen should appear.
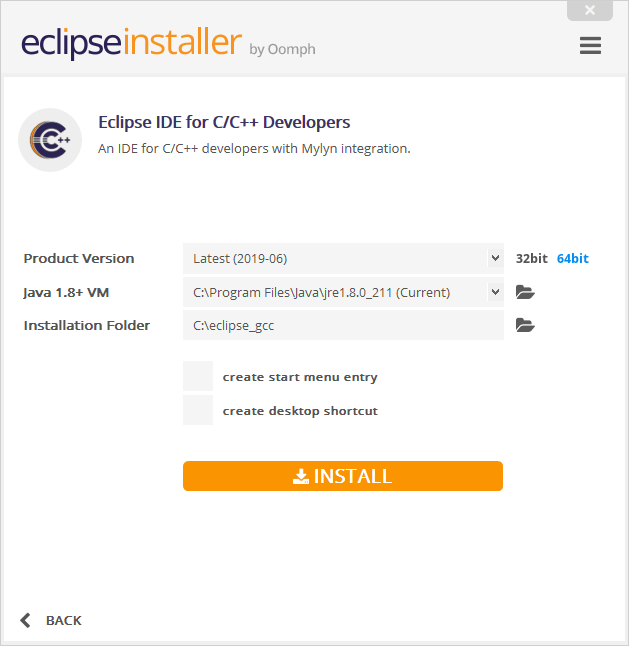
The Product Version should be set to latest unless a specific version of Eclipse is desired. Right next to the version is the selection for 32 or 64-bit. 64 Bit is strongly recommended if it is supported by the host computer. Next is the Java virtual machine selection. If a suitable JVM is found, it will usually be selected. Note that the JVM must match with the 32 or 64-bit selection. For the installation directory, it is recommended to use a unique directory that is short with no spaces in the name as the eclipse install directory. In this example we will use “C:/eclipse_gcc” as the install directory. The eclipse installer will automatically create an eclipse subdirectory inside the specified installation path. Finally, it is possible to create a start menu entry and/or a desktop shortcut if desired.
Click install to continue.
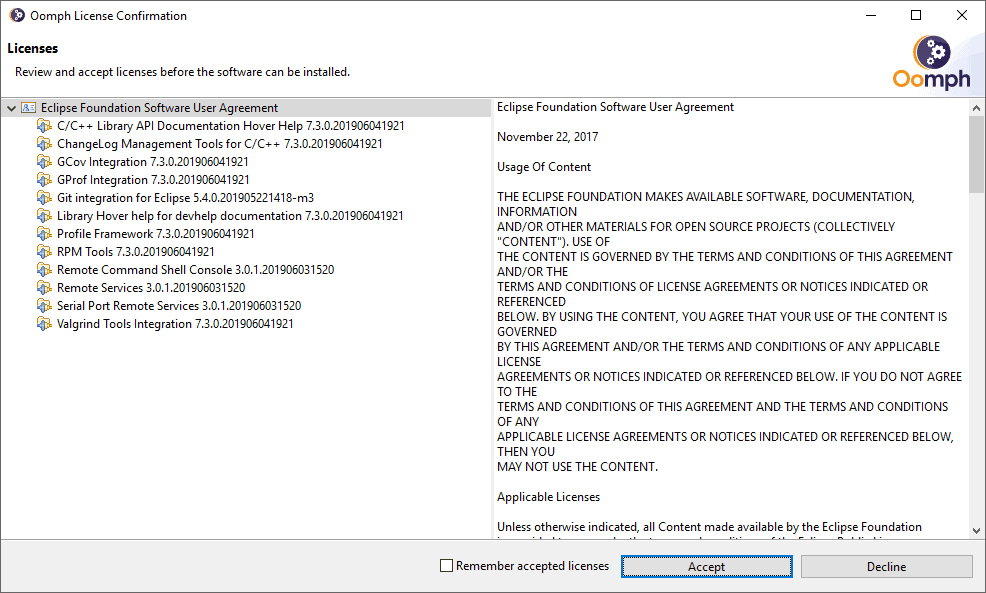
The licence confirmation prompt should appear. Click “Accept” to continue.
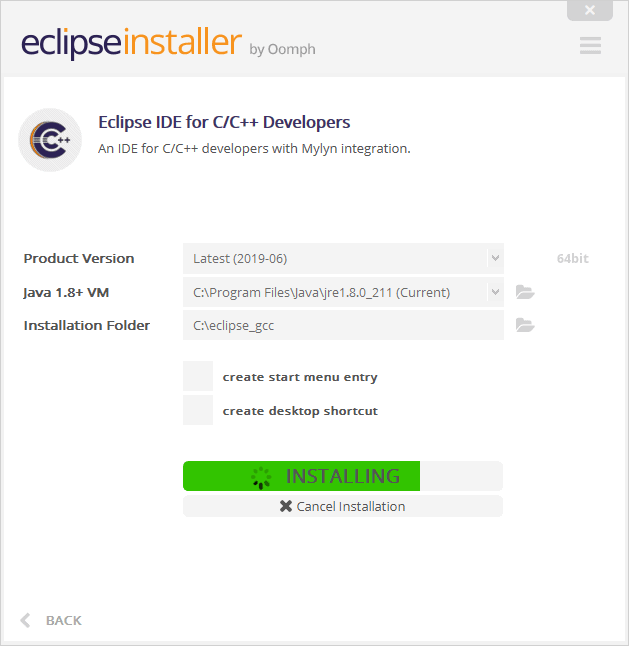
The installation should progress. This may take some time depending on network performance.
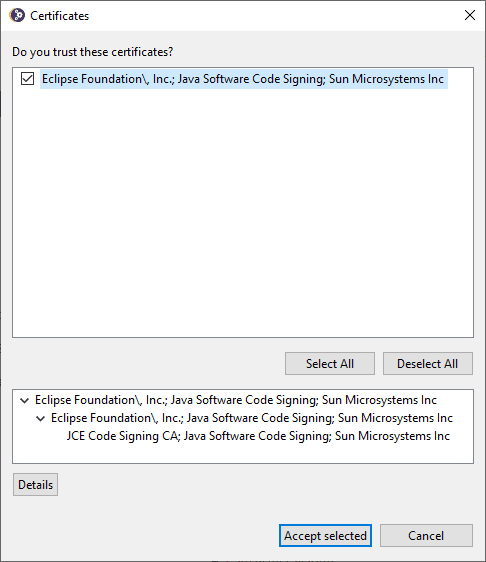
The installer will likely prompt to trust of the remote server certificate where the Eclipse files will be downloaded. Check the checkbox next to the certificate name and click accept selected.
Installation should proceed.
Launch the installation to check if it’s working properly and create the first workspace. Do so by clicking Launch.
The workspace selection prompt should appear.
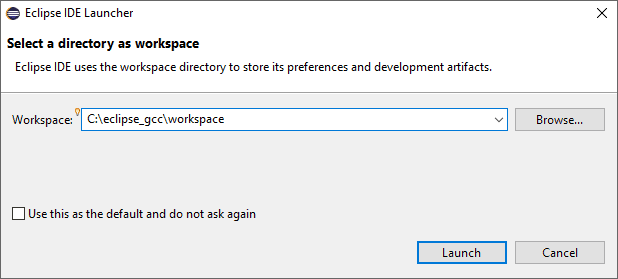
It is strongly recommended to create a unique workspace that will be used exclusively for the projects related to the GCC toolchain that will be installed in this guide. The workspace selected should not have a path name that is excessively long and it is recommended not to use spaces in the path name either. To keep everything well contained and ordered this example will use “C:/eclipse_gcc/eclipse_workspace” as the workspace.
Click Launch.
The Eclipse welcome screen should appear.
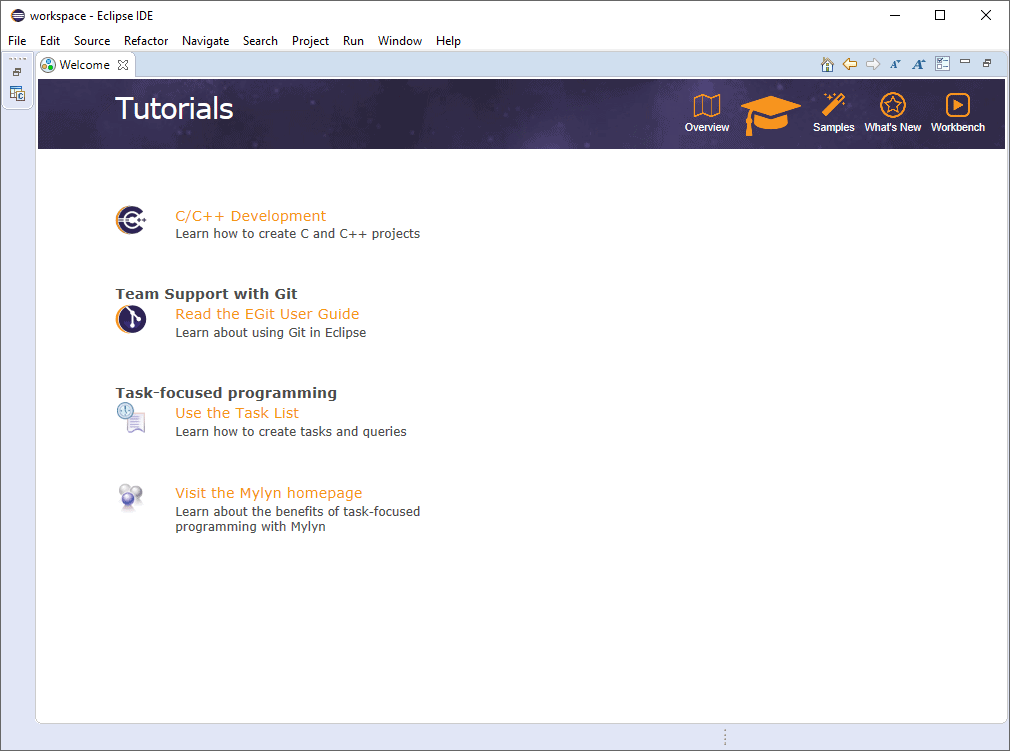
Eclipse can be closed at this point as there are more packages to install before setting up the Eclipse IDE.
Toolchain Installation
This guide will use as an example the GNU Embedded Toolchain for Cortex-R and M distributed by ARM. However the procedure should be very similar to other embedded GCC toolchains. On Windows, if given a choice a simple ZIP or tarball archive is easier than an executable installer, this guide will use the former as an example.
To install the toolchain it should simply be extracted to a suitable directory. As usual the full directory path should be short with no spaces. This example will use “C:/eclipse_gcc/gcc”.
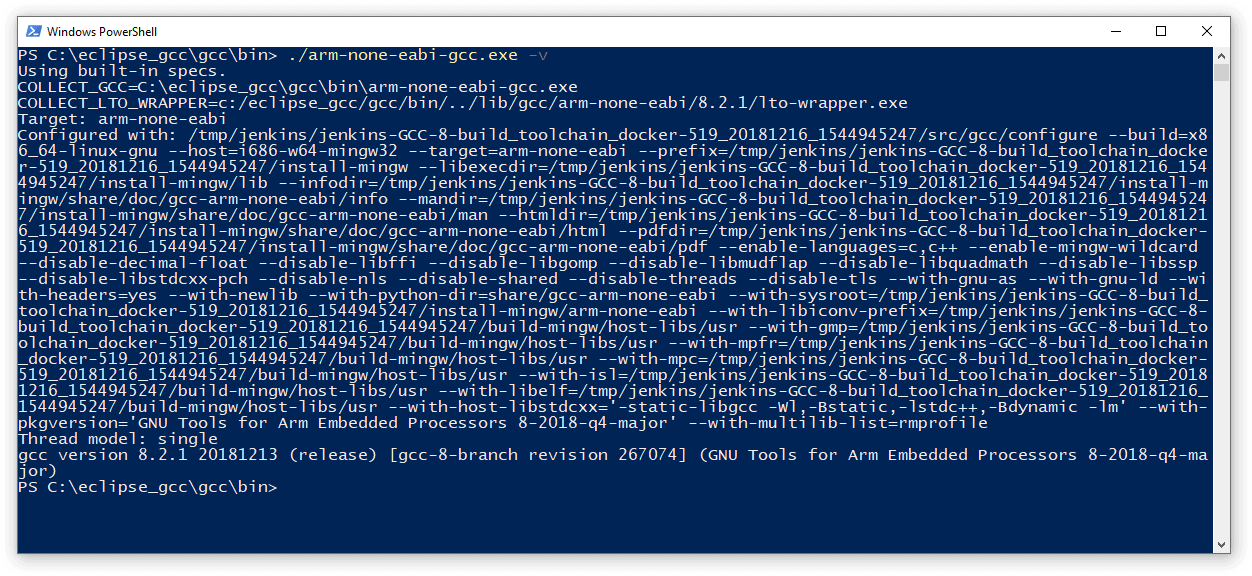
The installation can be tested by opening a windows command prompt, changing the directory to the bin subdirectory of GCC installation directory and running the gcc executable. The full name of the GCC executable will be prefixed by the target triplet. For example “arm-none-eabi-gcc.exe”
After finding the name of the GCC executable, it can be executed as follows:
arm-none-eabi-gcc.exe -v
GCC should output various version and build information to the command prompt.
Environment Variable Setup
For the toolchain to be easily accessible by Eclipse, Make and other utilities it is preferable to have the toolchain binary location in the PATH environment variable.
Start by opening the Windows Control Panel.
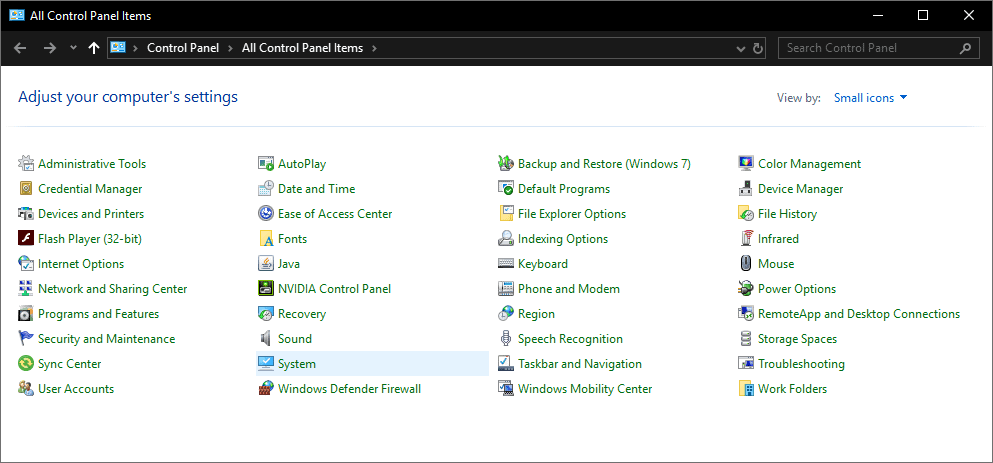
Click “System”.
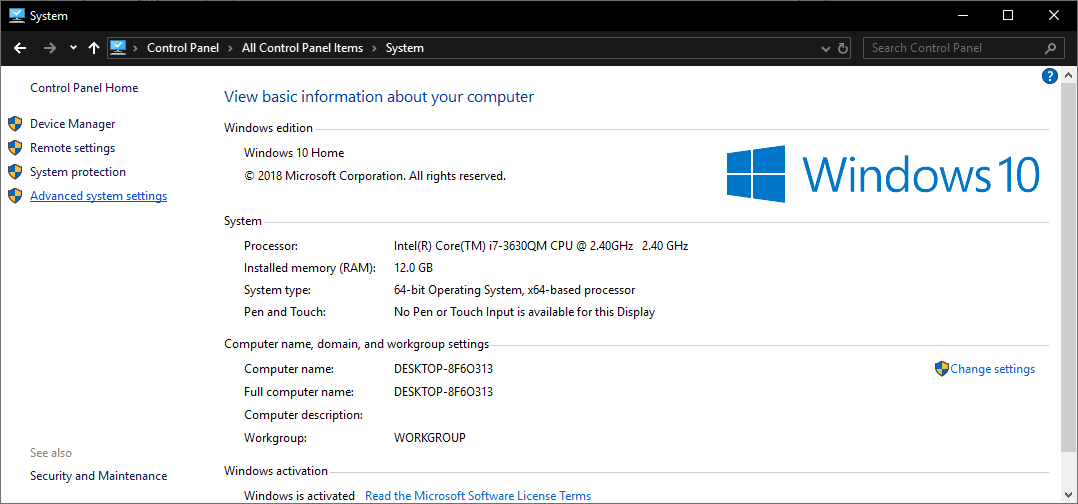
Click “Advanced System Settings”.
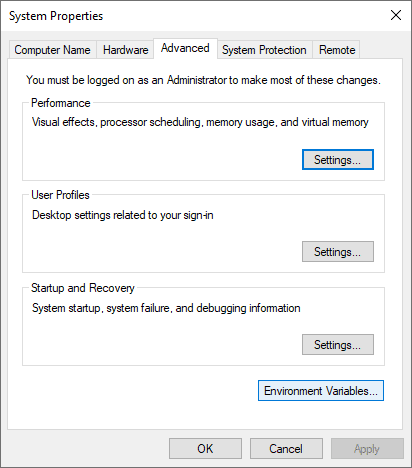
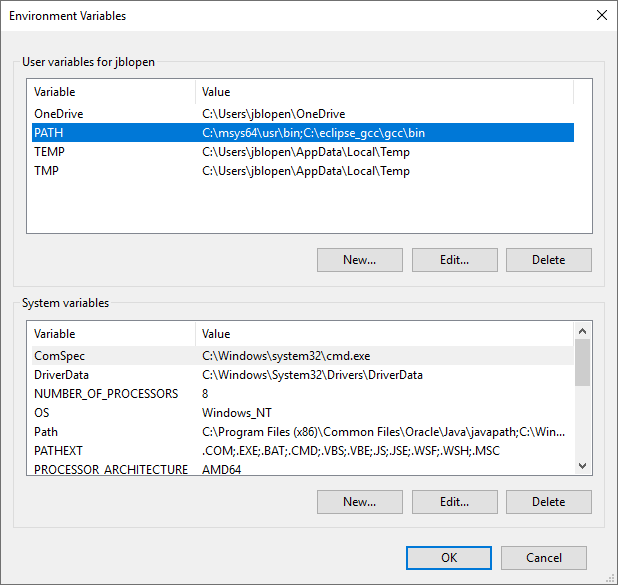
Click “Environment Variables”.
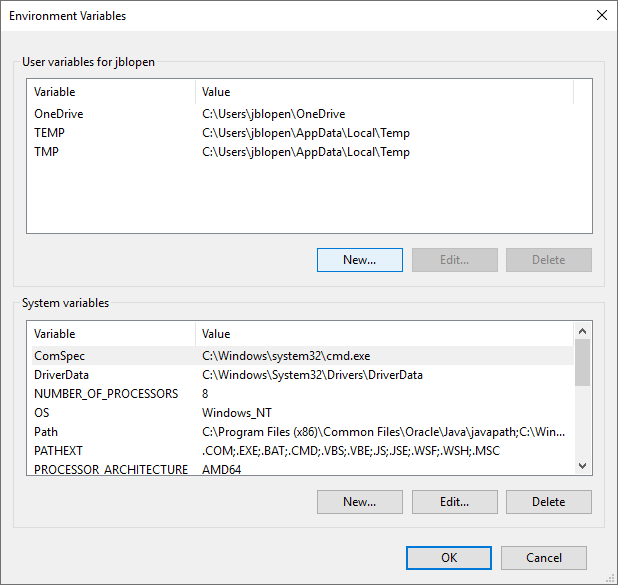
In this screen, if an existing PATH environment variable exists, click it and then click “Edit…” otherwise click “New…”
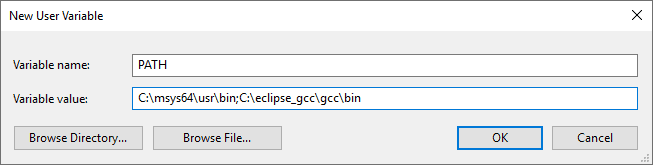
Two paths should be added either to the existing PATH variable or the new one. The “usr/bin” subdirectory of the MSYS2 installation and the bin subdirectory of the GCC installation. For the install directories chosen for this example, this results in the following two paths:
C:/msys64/usr/bin;C:/eclipse_gcc/gcc/bin;
Then click OK.
Then OK again to exit the Environment Variables window.
That is it for part 1. At this point, all the tools needed for embedded software development should be installed and configured. Check the next articles in this series for project and debugging setup. If you can’t wait consult the PDF version of this guide.
Click here for part 2 of this series.
Visit the Documentation section for a PDF version of this guide including project and debugging setup.