A PDF version of this guide, including Eclipse setup and project debugging is available in the Documentation section.
Following up on the previous guide in the series, this guide will go through the steps of creating a managed build project using Eclipse and the GCC toolchain setup in the previous guide.
There are two main types of CDT projects that can be used in Eclipse. The first one is called a managed build where Eclipse CDT will manage the build. The other option is a Makefile project where a user-supplied Makefile is used with little help from Eclipse. Both methods have their pros and cons and this guide covers both.
This guide will go over the basic steps required to create and set up a managed build project using the toolchain and Eclipse installation done in the first chapter. Note that this guide will not go over the project configuration for specific MCU or SoC as these settings can vary wildly and are beyond the scope of this guide.
Workspace Setup
Not much configuration is required at the workspace level when using a managed build, but it’s a good idea to see if Eclipse has detected the toolchain that was added to the system PATH environment variable earlier in this guide.
First launch Eclipse if it’s not already started. The workspace selection prompt should appear.
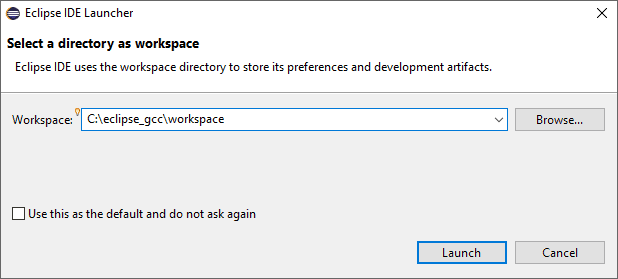
If a workspace was created during the Eclipse installation select it, otherwise create it now. It is strongly recommended to create a
unique workspace that will be used exclusively for the projects related to the GCC toolchain that will be installed in this guide. The workspace selected should not have a path name that is excessively long and it is recommended not to use spaces in the path name either. To keep everything well contained and ordered this example will use “C:/eclipse_gcc/eclipse_workspace” as the workspace.
Click Launch.
The Eclipse welcome screen should appear.
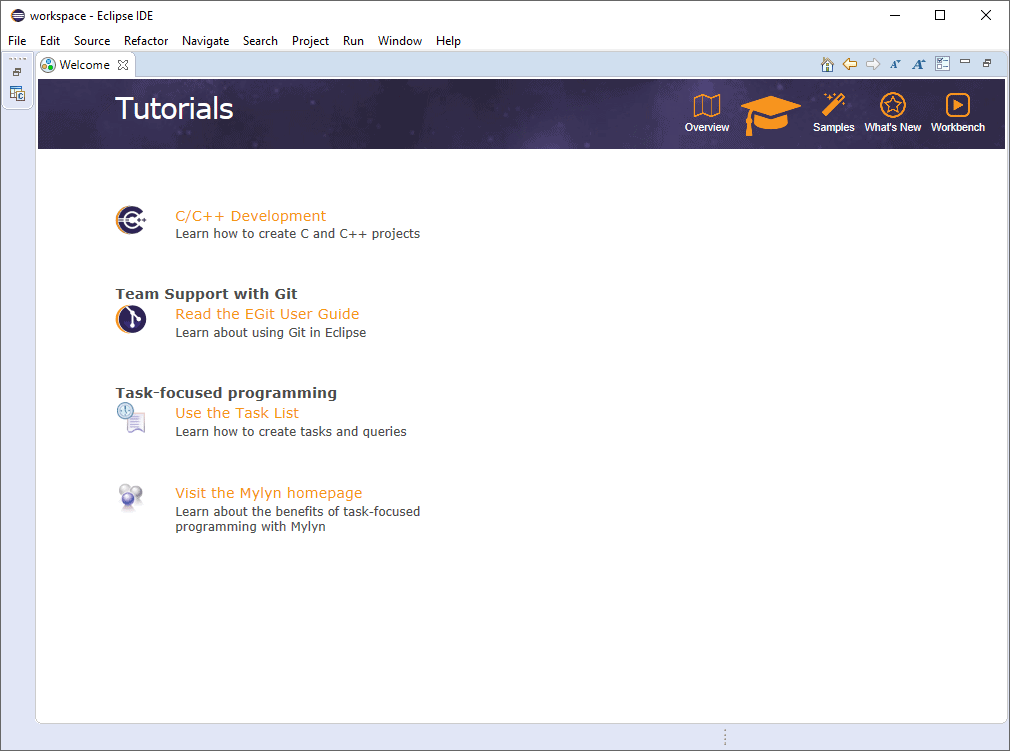
The welcome screen can be closed by pressing the X next to the Welcome tab. This reveals the main Eclipse view, which should be empty if this is a new workspace.
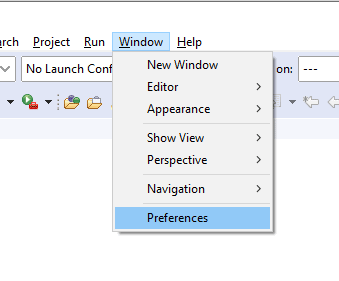
Open the workspace preferences by clicking the Window->Preferences menu entry.
Navigate to the “Core Build Toolchains” subsection of the “C/C++” section of the Preferences panel. This should display a list of detected toolchains. If the toolchain was installed correctly and was added to the PATH environment variable, it should appear in the list.
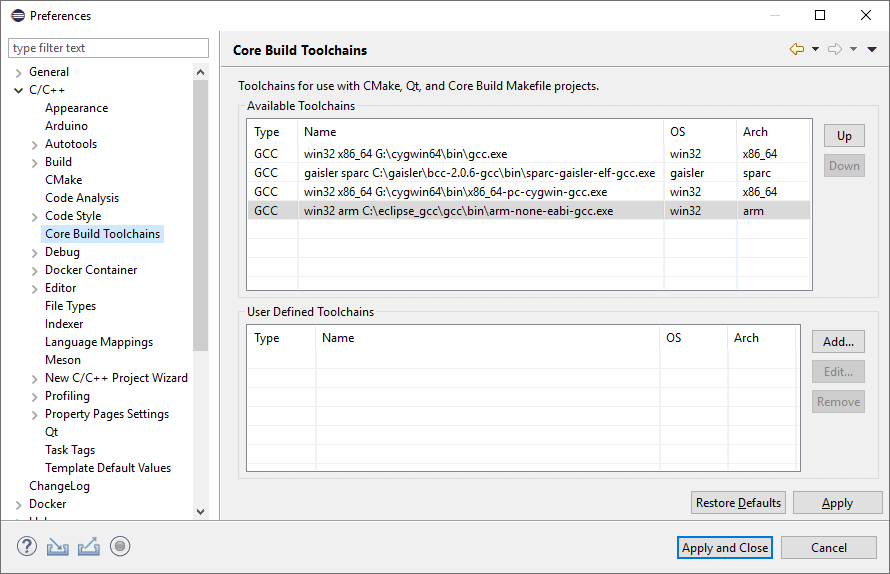
In this example the toolchain for ARM installed earlier was detected with the path to the main GCC executable being C:/eclipse_gcc/gcc/bin/arm-none-eabi-gcc.exe correctly displayed.
That is all the workspace level items of importance for a managed build. The next step is to create the managed build project proper.
Managed Build Project Setup
To create a new managed build project select the File->New->C/C++ Project entry from the File Menu.
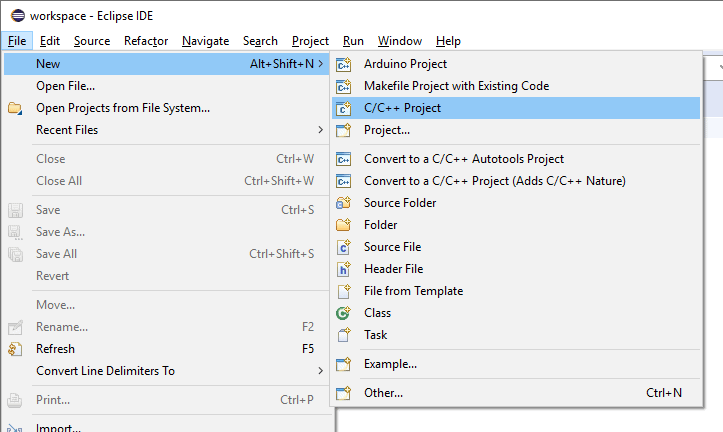
In the New C/C++ project dialog select “C Managed Build”.

Click Next. In this next screen, the project name and location should be set as well as the toolchain. Type a name for the project, for example “ex_managed_build” and select a location. If the “Use default location” box is checked the project will be created inside the current workspace, otherwise a directory can be typed or selected using the “Browse” button. As usual it is recommended to keep the project path short without any spaces.
It is also important to select an empty executable project along with the “Cross GCC” toolchain as displayed in the following screenshot.

Click Next. The Select Configurations dialog will display.
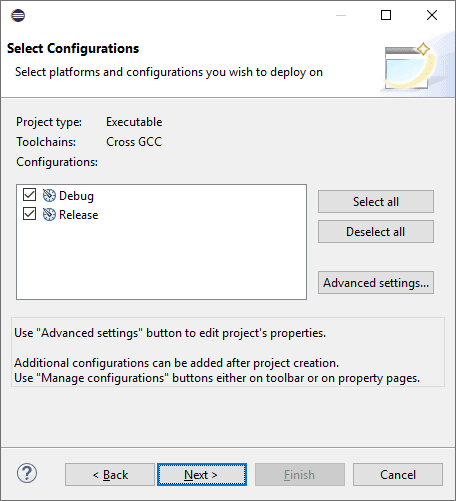
There is nothing to change on this screen other than clicking next.
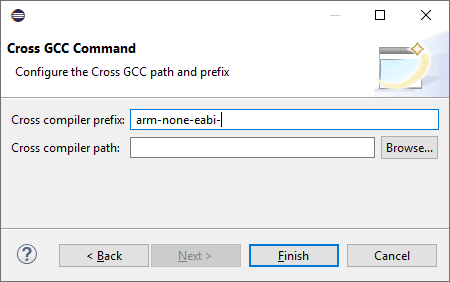
The next “Cross GCC Command” dialog is rather important, this is where we select the toolchain to use for building. To do so it’s necessary to type in the prefix of the GCC toolchain. Most of the time all the executables from a GCC cross compiler will be prefixed with a target triplet. For example, in our ARMv7 toolchain the target triplet is “arm-none-eabi” and the full prefix is “arm-none-eabi-“. The full prefix should be typed in the “Cross Compiler prefix:” box. It is not necessary to enter the path to the toolchain since we already took care of that with the PATH environment variable.
Click Finish. The project should now be created and available in the workspace.
Files can now be added and the build settings set for the particular target for the project. The exact settings are outside the scope of this guide but let’s at least add a simple main file to test the build.
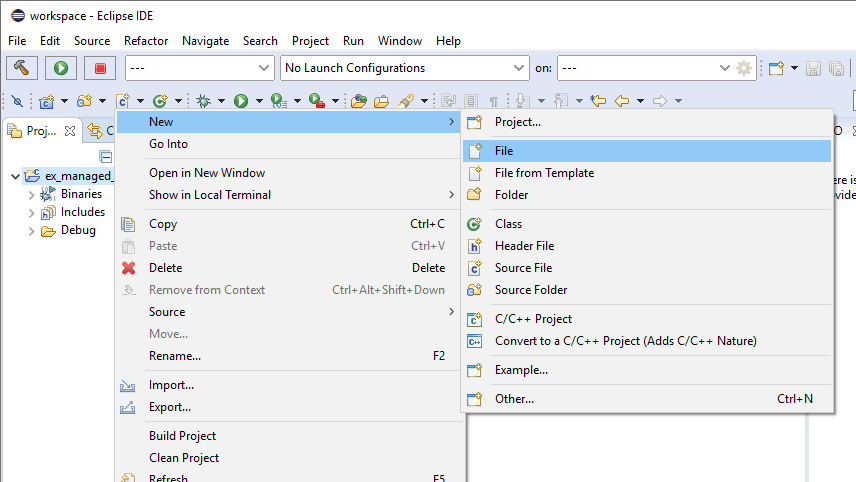
To add a new file right-click on the project, or select the project and click the Project->New->Files menu item.
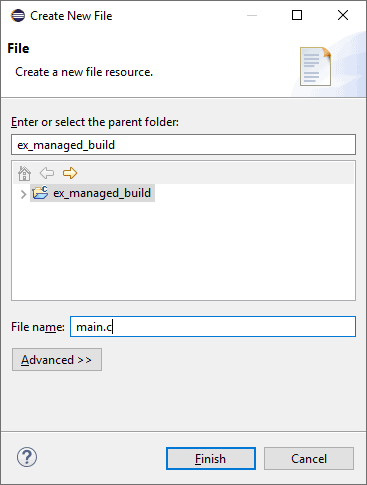
Type “main.c” in the “Create New File” Dialog and click “Finish”.
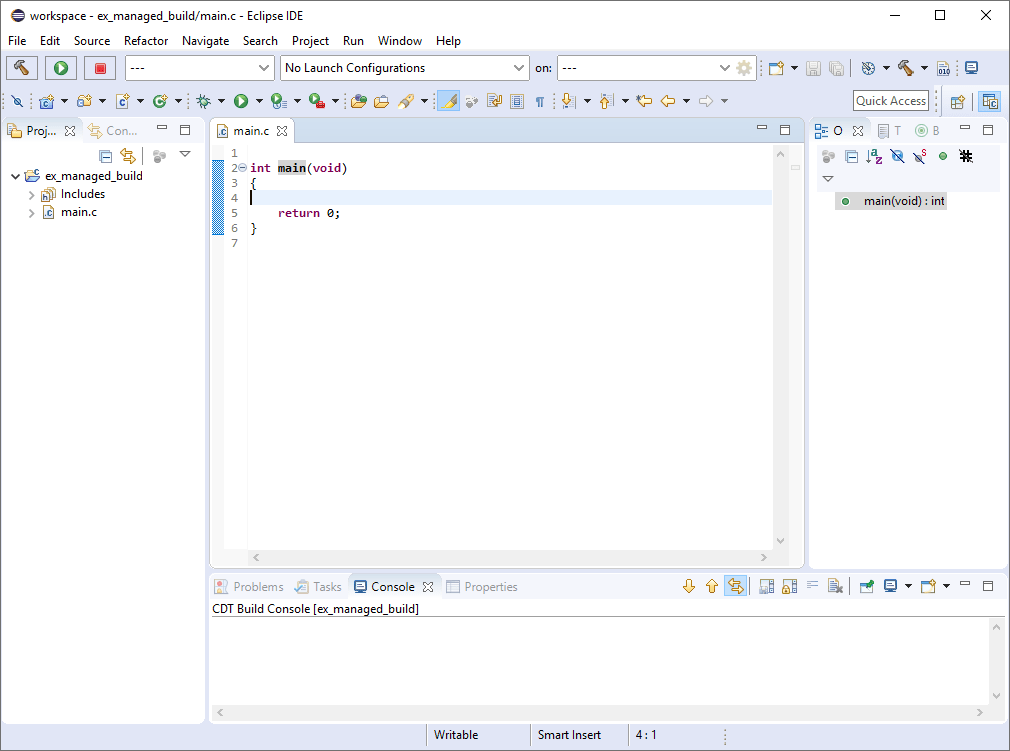
Let’s fill the new source file with a minimal C main function.
If you try building the minimal C program, it’s quite likely that an error similar to the following linker error is displayed.
exit.c:(.text.exit+0x2c): undefined reference to `_exit'
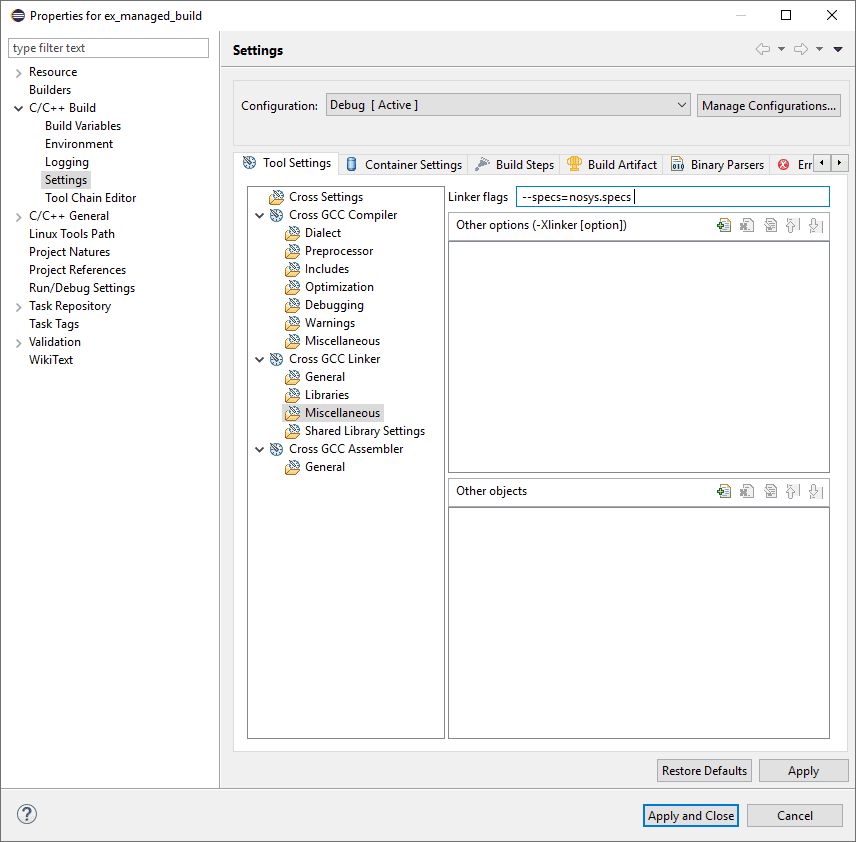
To fix that common issue --specs=nosys.specs must be added to the linker command-line options. Note that if the error doesn’t happen it is important not to add the linker option.
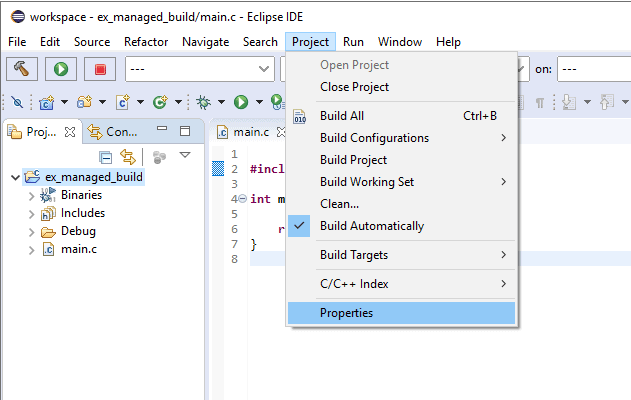
To add the option first open the project properties, by right-clicking on the project or by selecting the project and click the Project->Properties menu entry.
Navigate to the “Miscellaneous” category under “Cross GCC Linker” and add the option to the “Linker flags” box.
At this point the minimal program should build and everything is set up to start development of an embedded project using the chosen toolchain.
That is it for part 2. Click here for the part 3 looking at creating a Makefile project or check out part 1 for the Eclipse and toolchain configuration guide. Stay tuned for the next articles in this series for setting up a Makefile project. If you can’t wait consult the PDF version of this guide.
Visit the Documentation section for a PDF version of this guide including Eclipse and debugging setup.
Questions or comments? Do not hesitate to contact us at blog@jblopen.com. Your questions, comments and, suggestions are appreciated.